
Updated: Oct 4, 2025

The Leaves Are Changing; I Feel Poetry in the Air by Laura Jaworski, now available on Amazon!


1
“The leaves are changing; I feel poetry in the air." ~ Laura Jaworski 🍂

2
“Softly, green gives way to gold
The summer warmth gives way to cold
And autumn winds begin to blow
Across the changing earth.” Laura Jaworski 🍂

3
“Autumn is the time when Nature takes her watercolor to the trees.” ~ Laura Jaworski 🍂

4
“An autumn breeze,
a string of words,
a star-filled sky—
all are poetry.”
Laura Jaworski 🍂

5
“In the hazy days at summer’s end
When the air’s still warm and the green near spent
When the days grow short and the evenings tall
Then you feel in a whisper,
Fall.”
Laura Jaworski 🍂
6
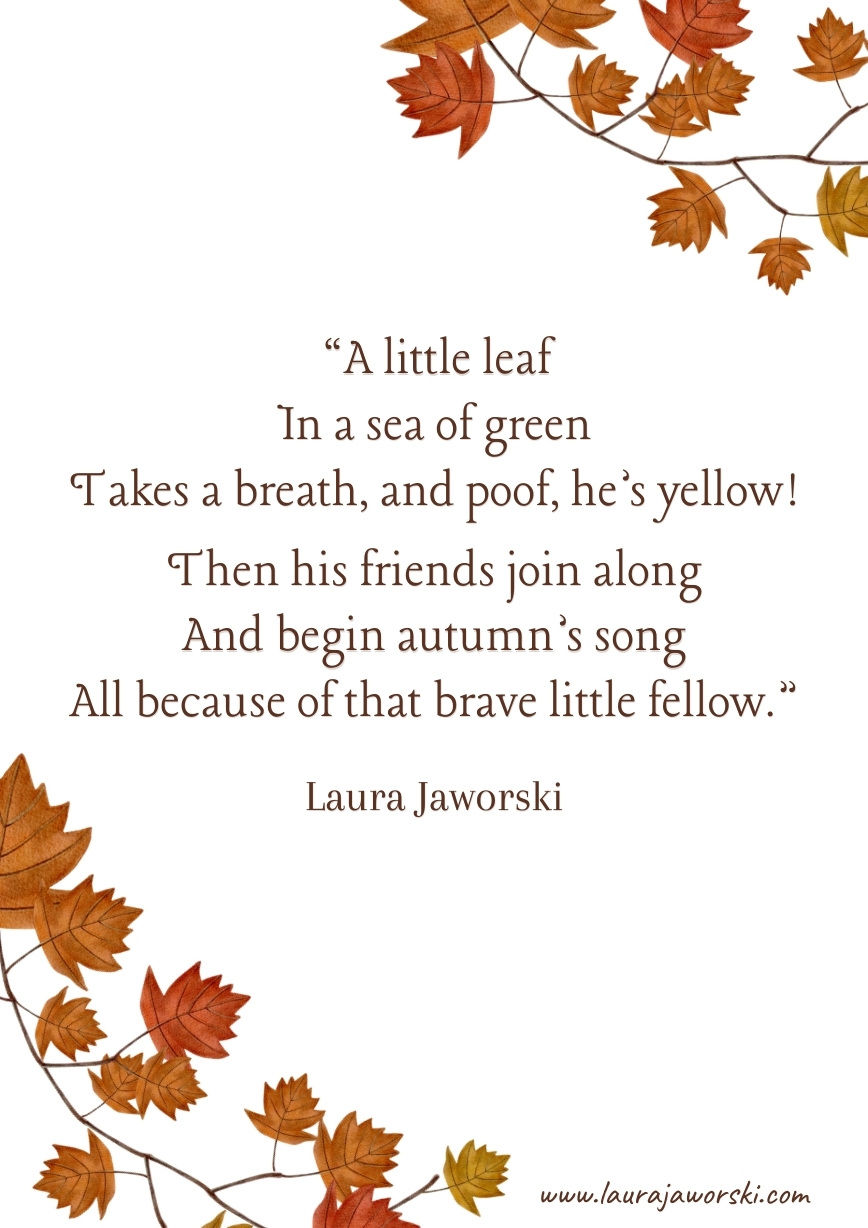
“A little leaf
In a sea of green
Takes a breath, and poof, he’s yellow!
Then his friends join along
And begin Autumn’s song
All because of that brave little fellow.”
Laura Jaworski 🍂
7
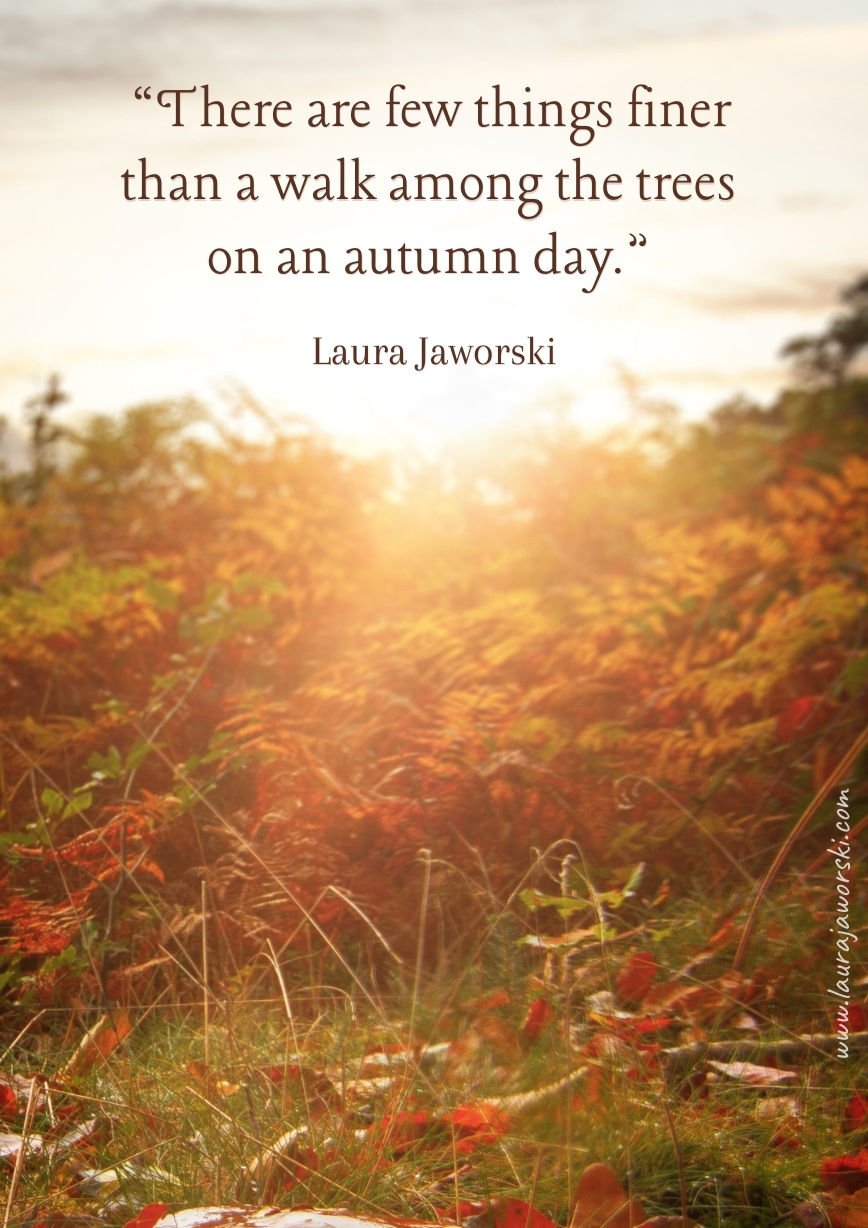
“There are few things finer than a walk among the trees on an autumn day.” ~ Laura Jaworski 🍂

8
“What gold I have, I give to you
Words spoken by a world at play
And offered as the falling leaves
This bright October day.”
Laura Jaworski 🍂
9
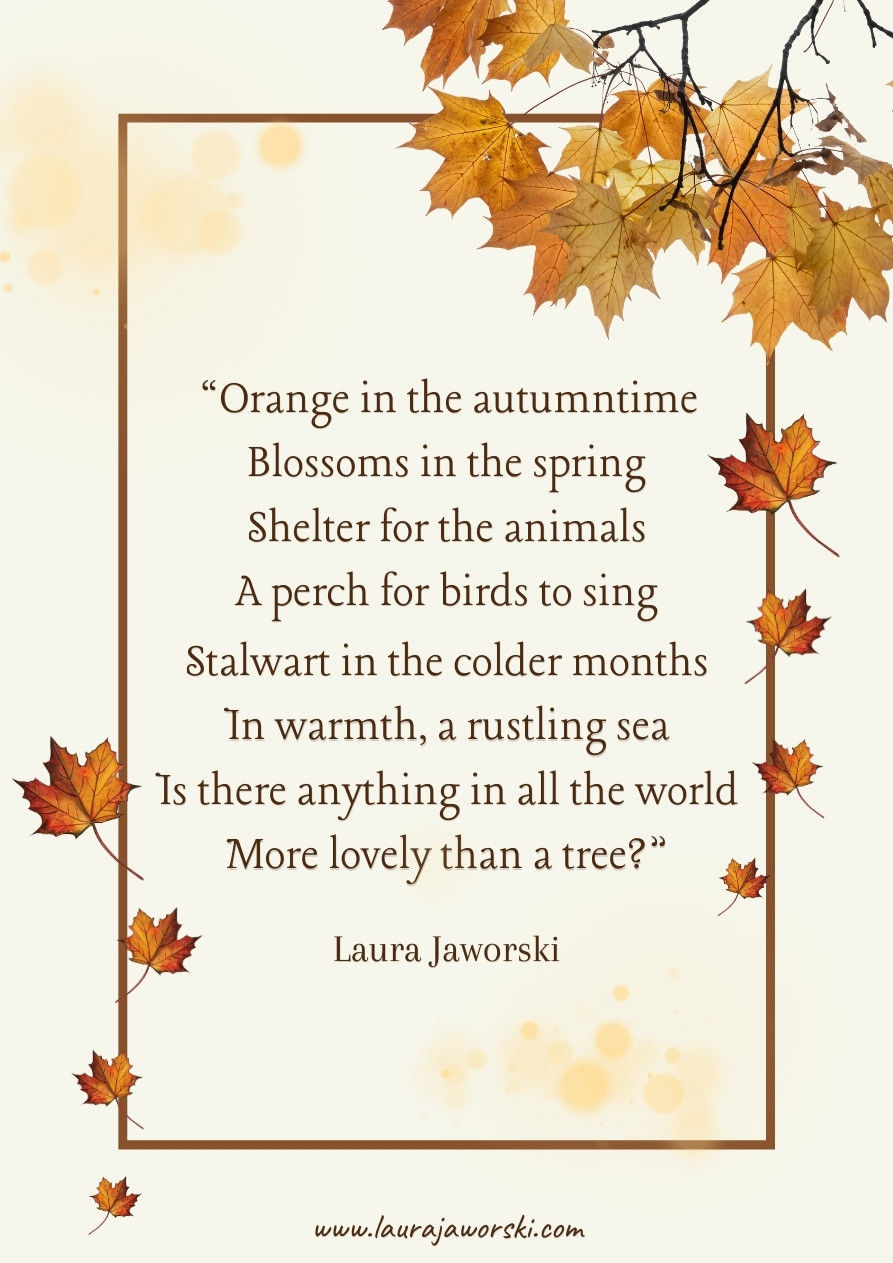
“Orange in the autumntime
Blossoms in the spring
Shelter for the animals
A perch for birds to sing
Stalwart in the colder months
In warmth, a rustling sea
Is there anything in all the world
More lovely than a tree?”
Laura Jaworski 🍂
10
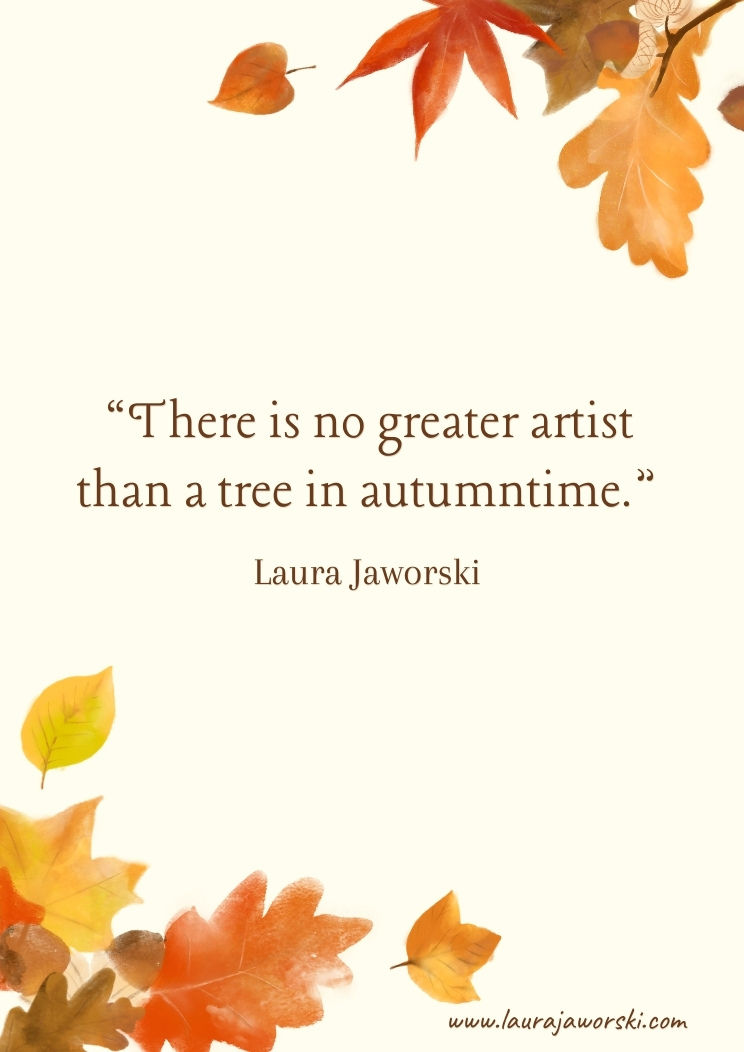
“There is no greater artist than a tree in autumntime.” ~ Laura Jaworski 🍂
11
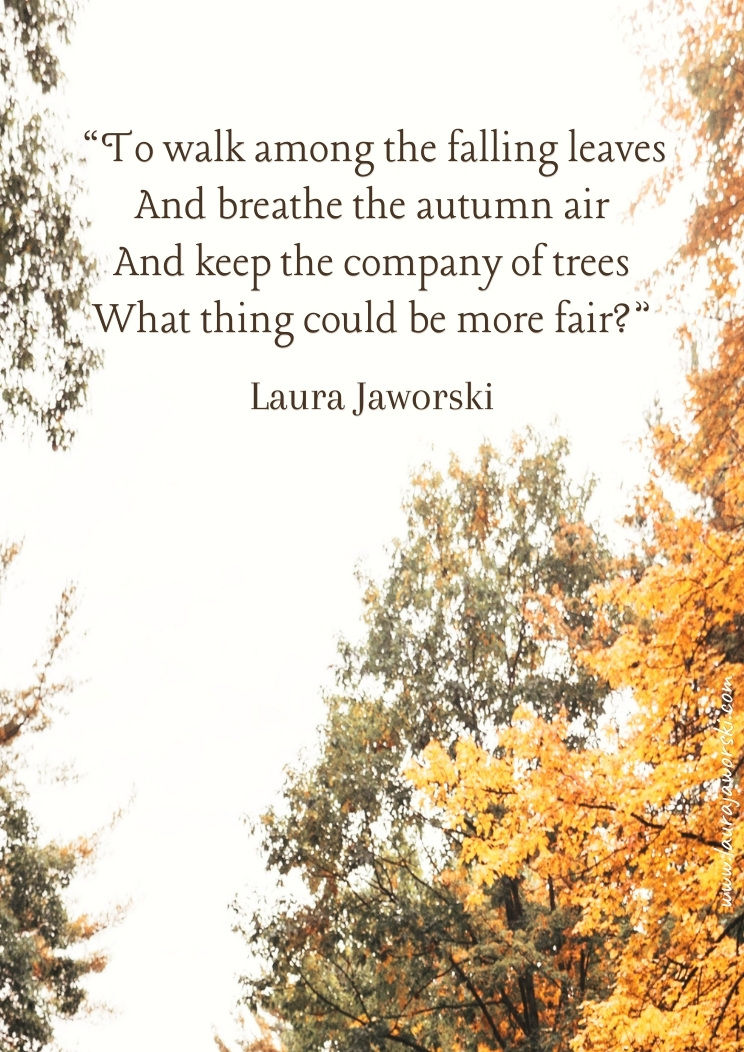
“To walk among the falling leaves
And breathe the autumn air
And keep the company of trees
What thing could be more fair?”
Laura Jaworski 🍂
12
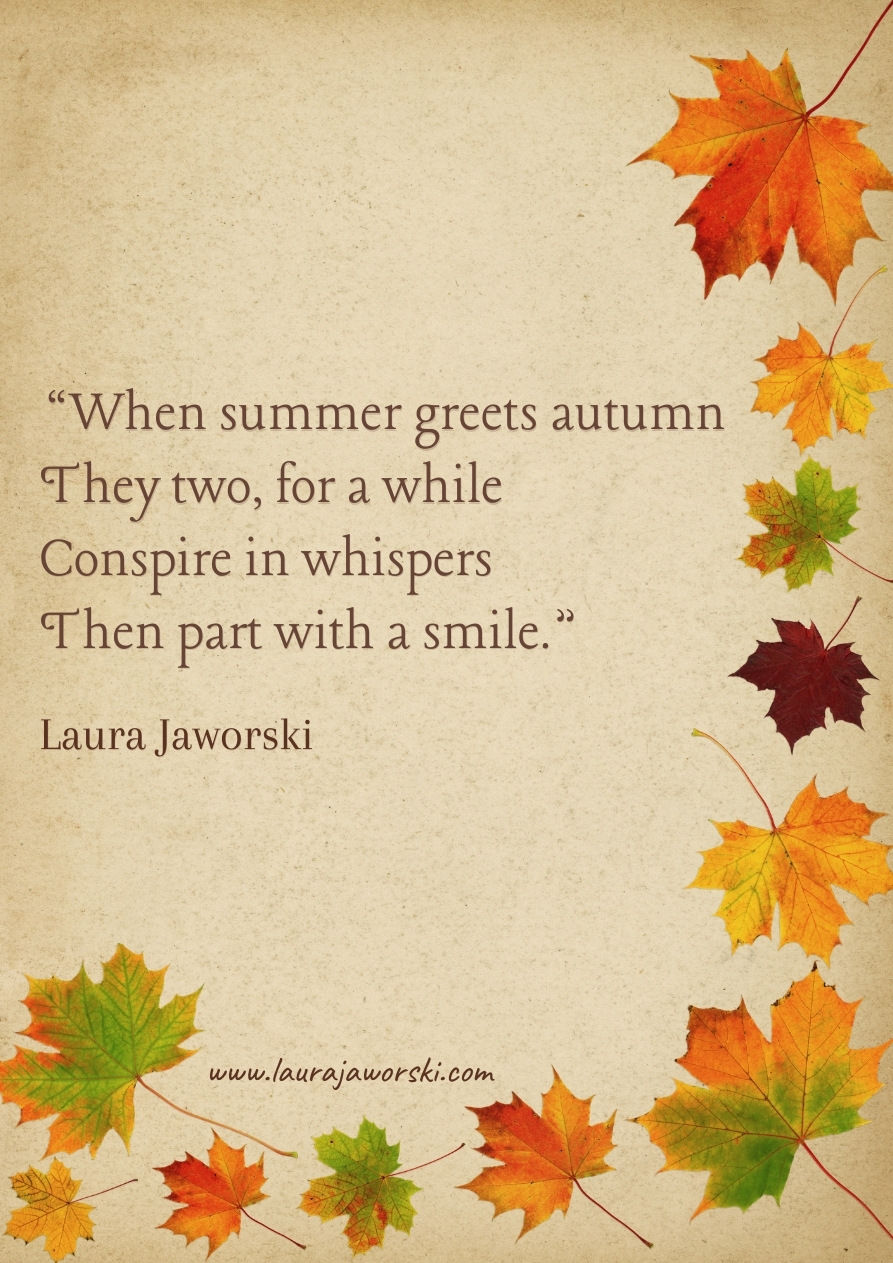
“When summer greets autumn
They two, for a while
Conspire in whispers
Then part with a smile.”
Laura Jaworski 🍂

13
“Each season promises beauty enough so as not to regret the former’s passing.” ~ Laura Jaworski 🍂

14
“Little squirrel out gathering
In the autumn sun
The leaves have tucked away your seeds
But searching's half the fun.”
Laura Jaworski 🍂

15
“One breath of autumn is pure joy to the senses.” ~ Laura Jaworski 🍂

16
“Come Autumn
Roll your red-gold wave
Gently
Across the good earth.”
Laura Jaworski 🍂
17
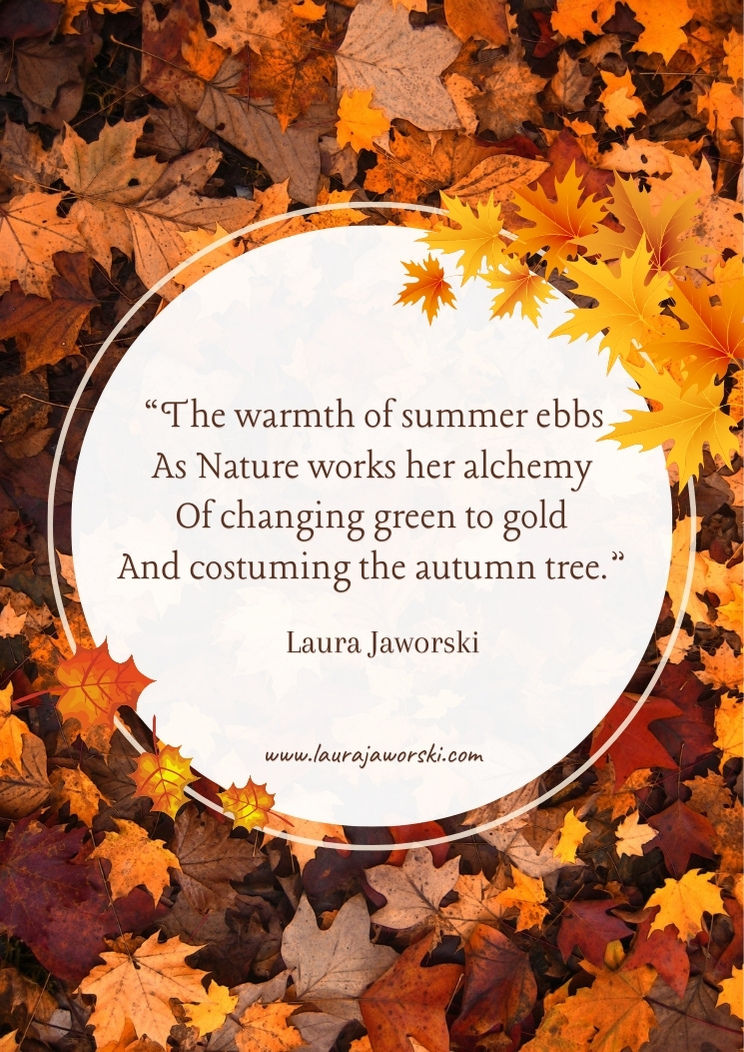
“The warmth of summer ebbs
As Nature works her alchemy
Of changing green to gold
And costuming the autumn tree.”
Laura Jaworski 🍂

18
“Leaves fall and the spirit soars.” ~ Laura Jaworski 🍂
19
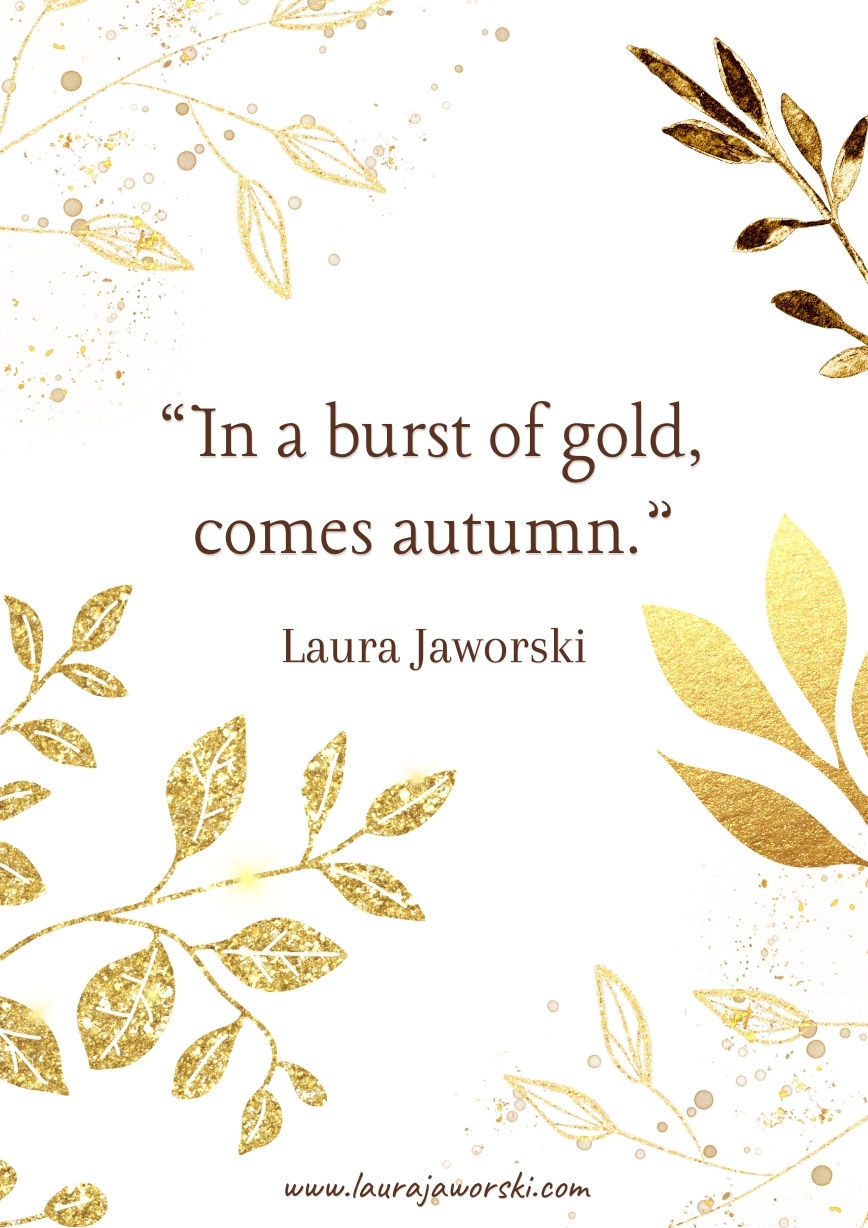
“In a burst of gold, comes autumn.” ~ Laura Jaworski 🍂
20
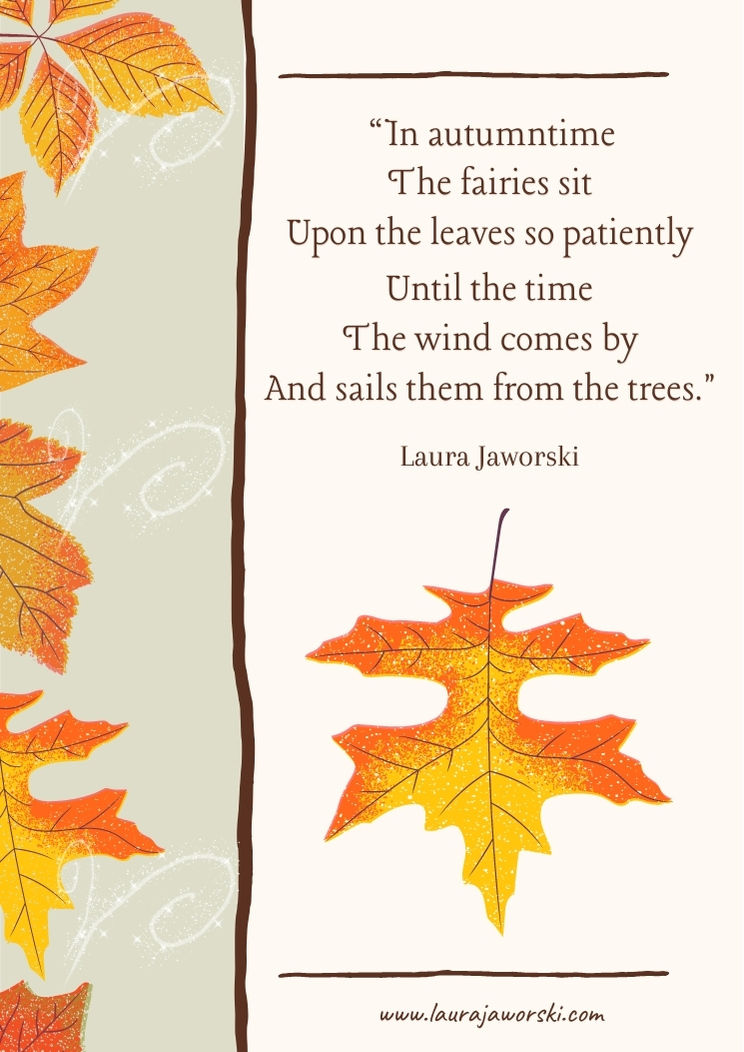
“In autumntime
The fairies sit
Upon the leaves so patiently
Until the time
The wind comes by
And sails them from the trees.”
Laura Jaworski 🍂
21
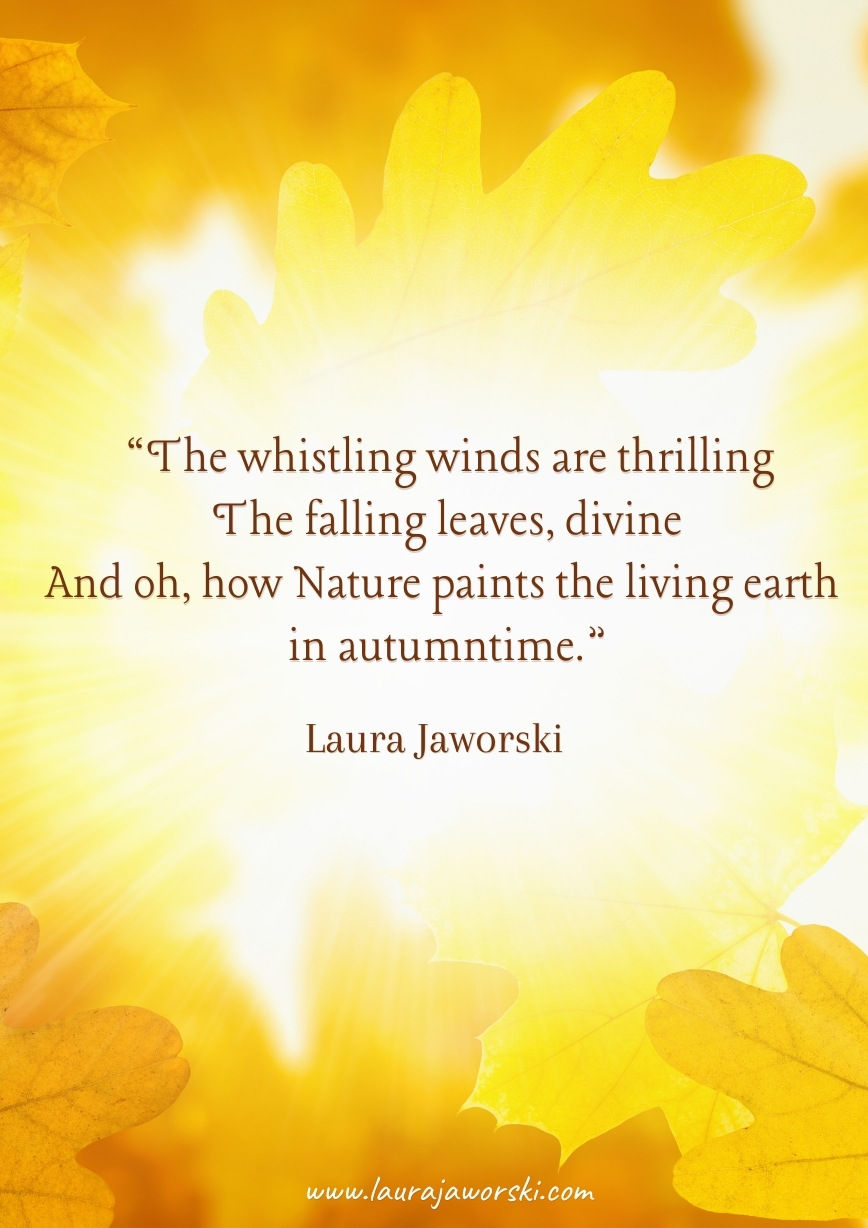
“The whistling winds are thrilling
The falling leaves, divine
And oh, how Nature paints the living earth in autumntime.”
Laura Jaworski 🍂
22
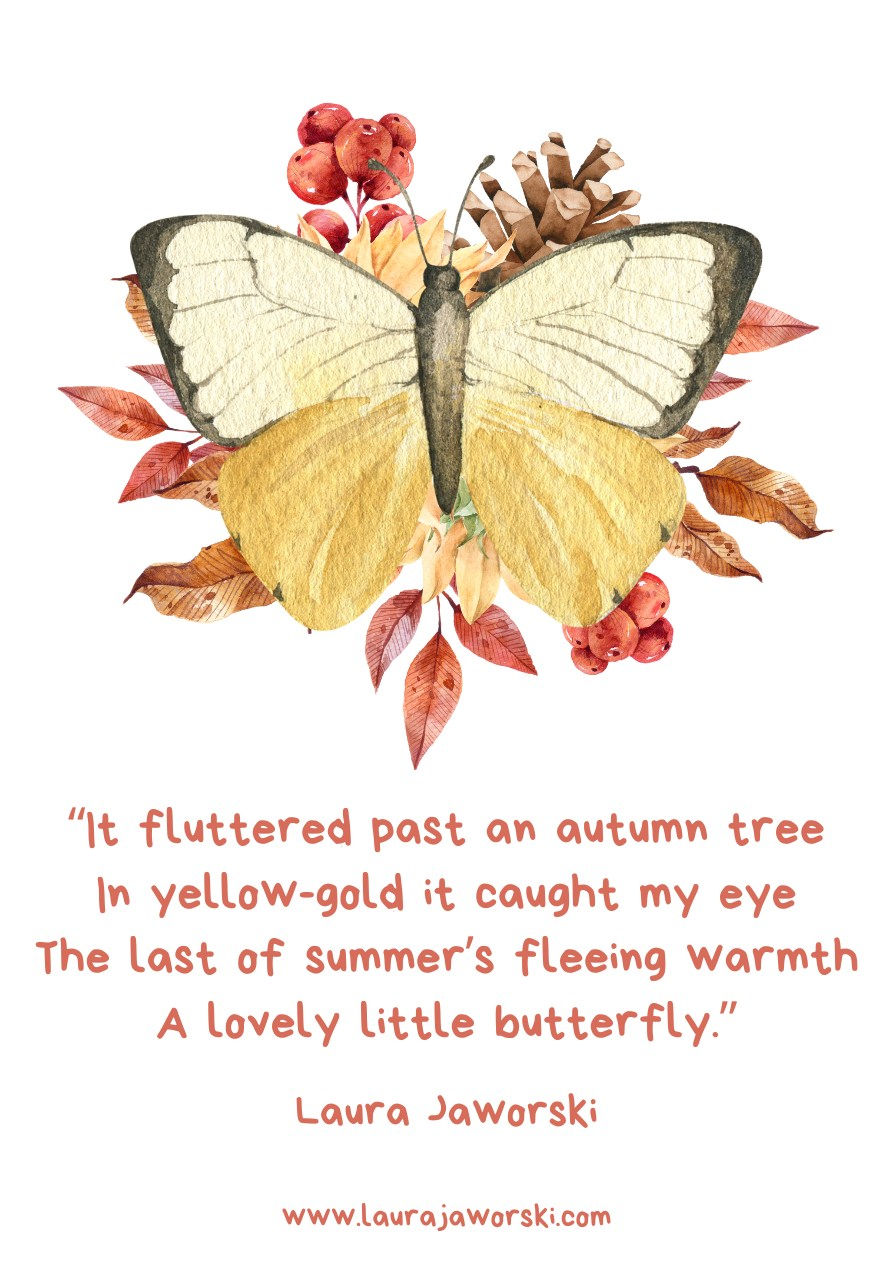
“It fluttered past an autumn tree
In yellow-gold it caught my eye
The last of summer’s fleeing warmth
A lovely little butterfly.”
Laura Jaworski 🍂

23
“Autumn holds a wonder all its own.” ~ Laura Jaworski 🍂
24
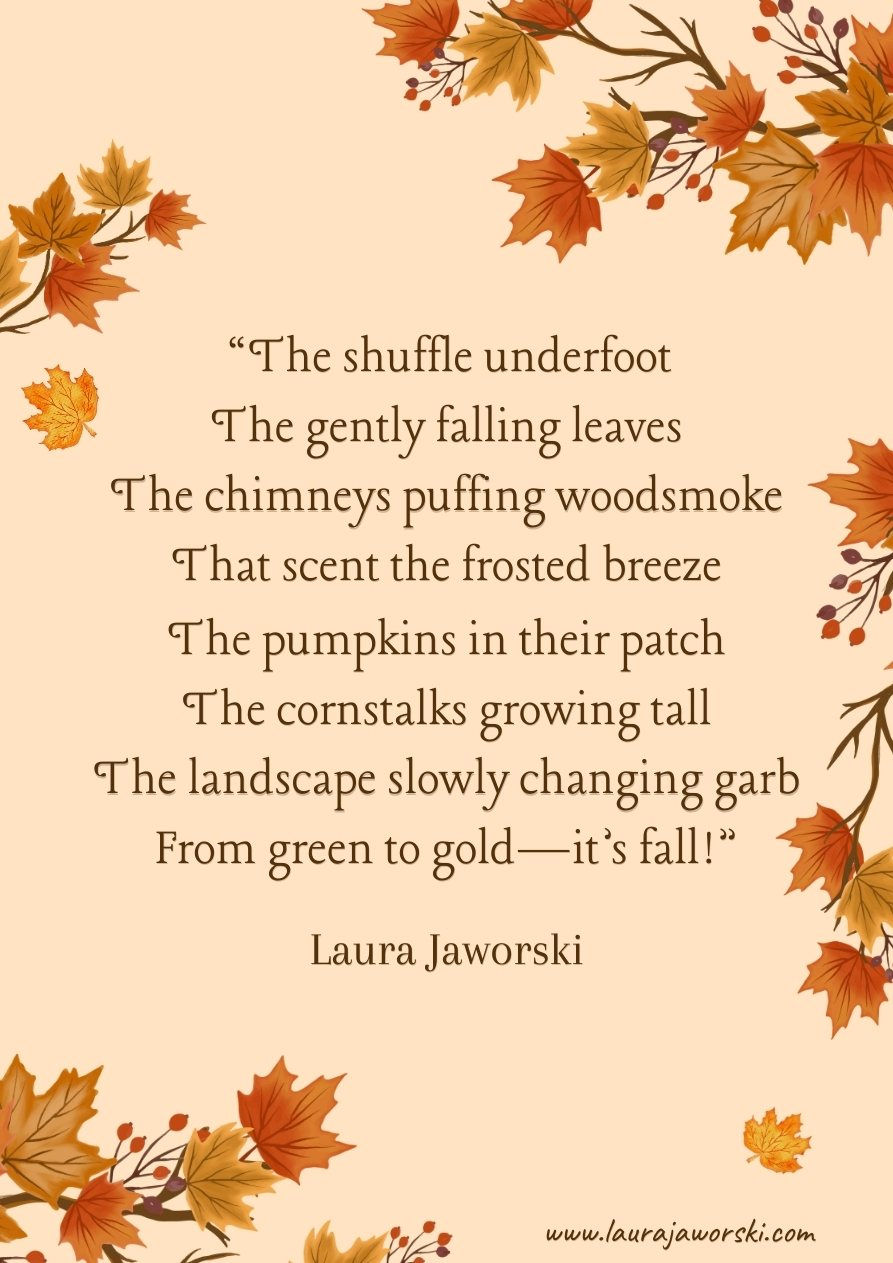
“The shuffle underfoot
The gently falling leaves
The chimneys puffing woodsmoke
That scent the frosted breeze
The pumpkins in their patch
The cornstalks growing tall
The landscape slowly changing garb
From green to gold—it’s fall!”
Laura Jaworski 🍂

25
“On a crisp October evening
In a cozy little patch
A chipmunk found a pumpkin
In a tuft of autumn grass
He built a door and windows
And a chimney made of stone
Then he hugged that little pumpkin
As he whispered, welcome home!”
Laura Jaworski 🍂
26
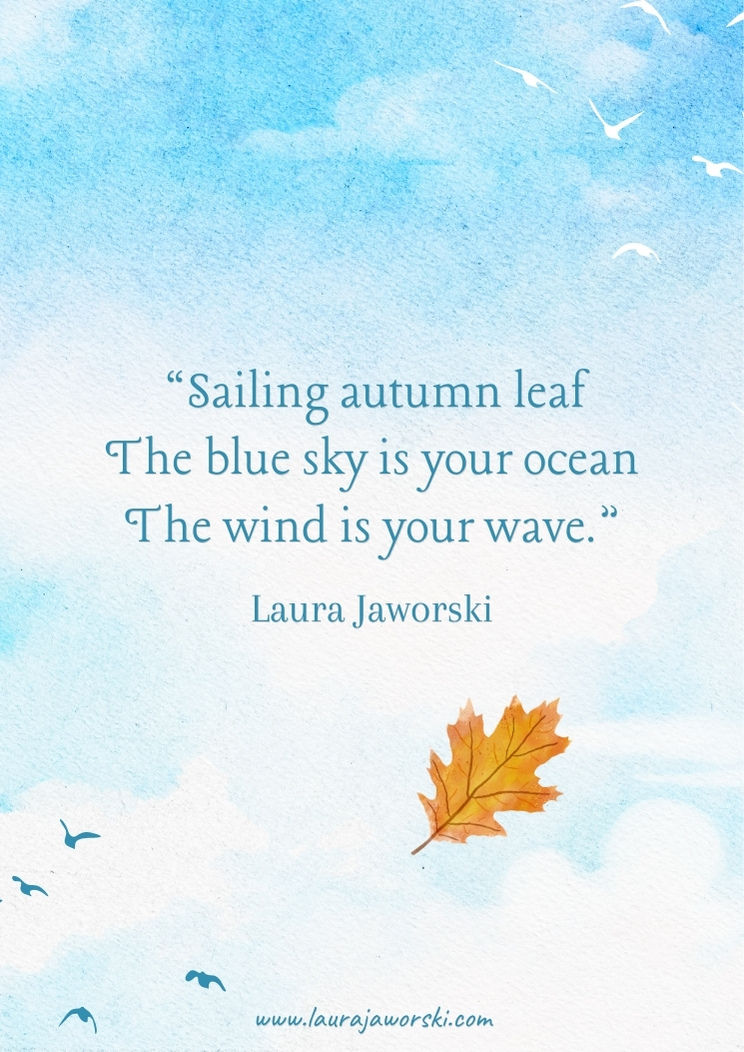
“Sailing autumn leaf
The blue sky is your ocean
The wind is your wave.”
Laura Jaworski 🍂
27
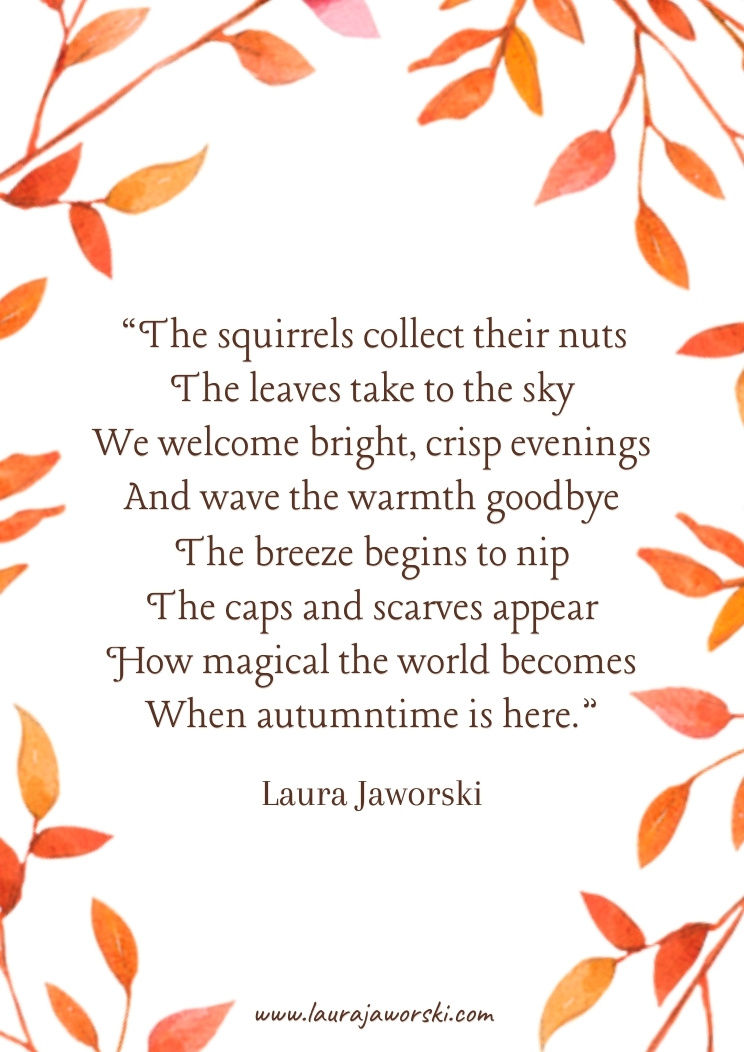
“The squirrels collect their nuts
The leaves take to the sky
We welcome bright, crisp evenings
And wave the warmth goodbye
The breeze begins to nip
The caps and scarves appear
How magical the world becomes
When autumntime is here.”
Laura Jaworski 🍂
28
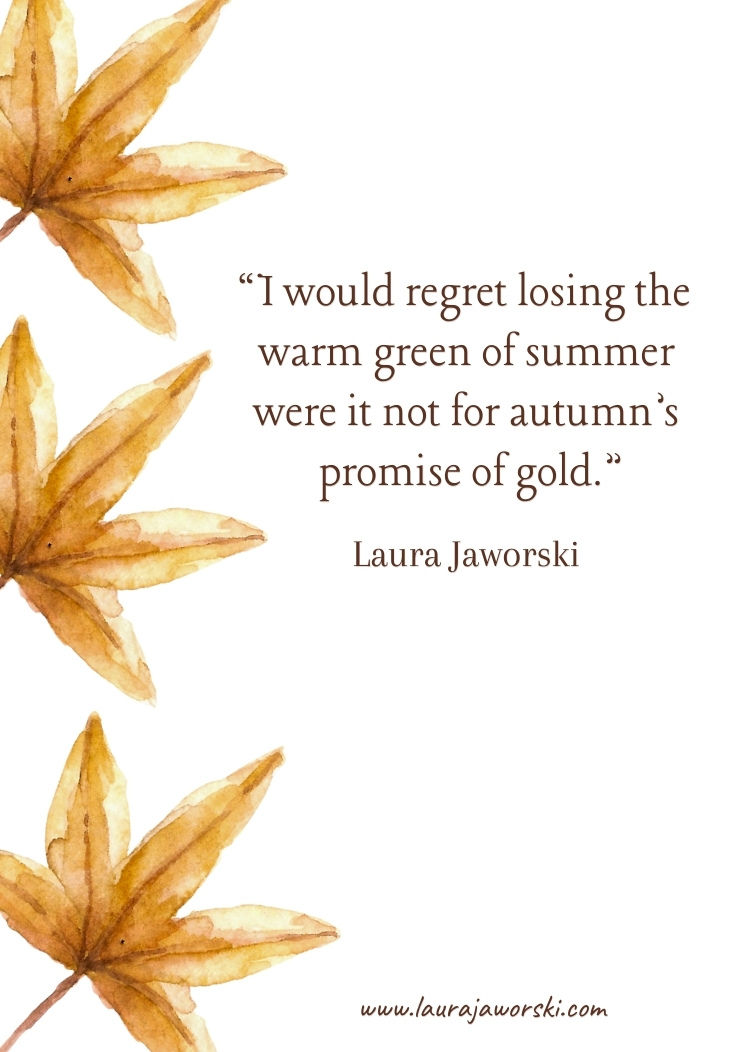
“I would regret losing the warm green of summer were it not for autumn’s promise of gold.”
Laura Jaworski 🍂
29
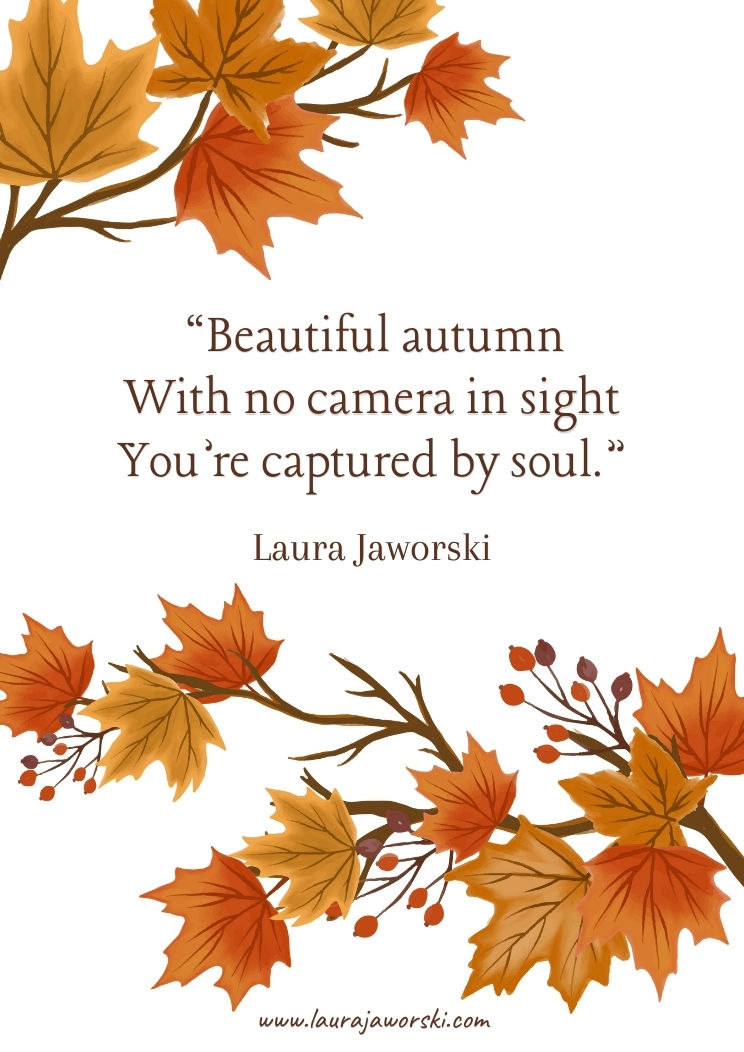
“Beautiful autumn
With no camera in sight
You’re captured by soul.”
Laura Jaworski 🍂

30
“There is great beauty in each season, but autumn has a pinch of something more.”
Laura Jaworski 🍂

31
“Autumn went out walking
And with a brush in hand
She draped the trees in red and gold
And dressed the changing land
She painted leaf and garden
And made the cold wind blow
Till all the world lay steeped within
Her bright October glow.”
Laura Jaworski 🍂
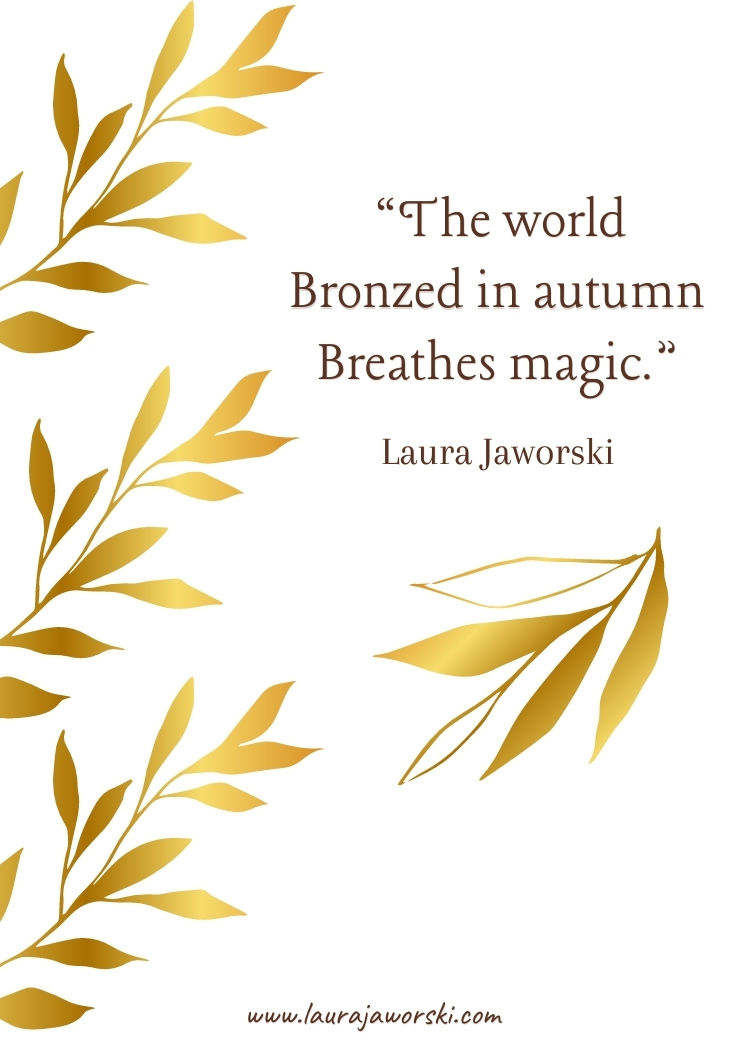
32
“The world
Bronzed in autumn
Breathes magic.”
Laura Jaworski 🍂
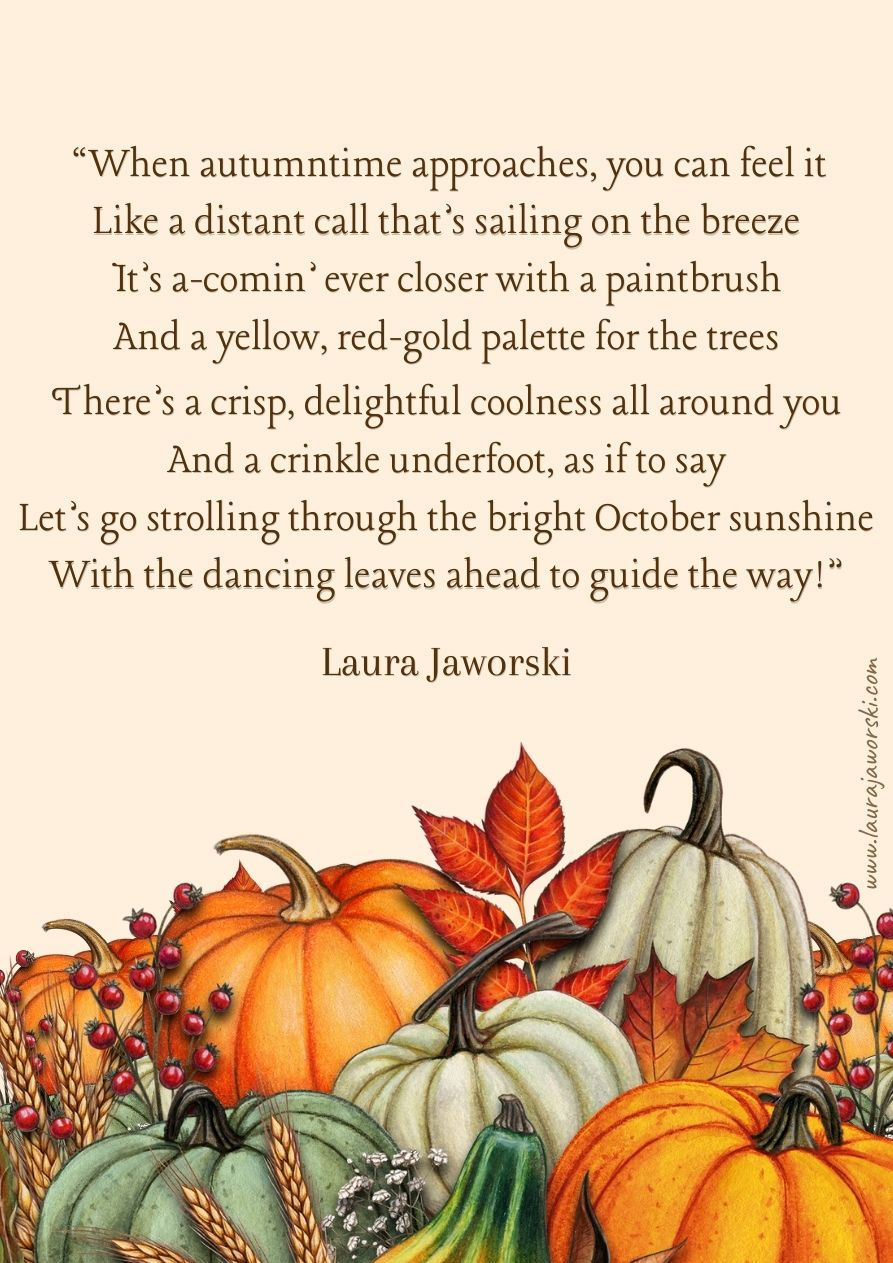
33
“When autumntime approaches, you can feel it
Like a distant call that’s sailing on the breeze
It’s a-comin’ ever closer with a paintbrush
And a yellow, red-gold palette for the trees
There’s a crisp, delightful coolness all around you
And a crinkle underfoot, as if to say
Let’s go strolling through the bright October sunshine
With the dancing leaves ahead to guide the way!”
Laura Jaworski 🍂
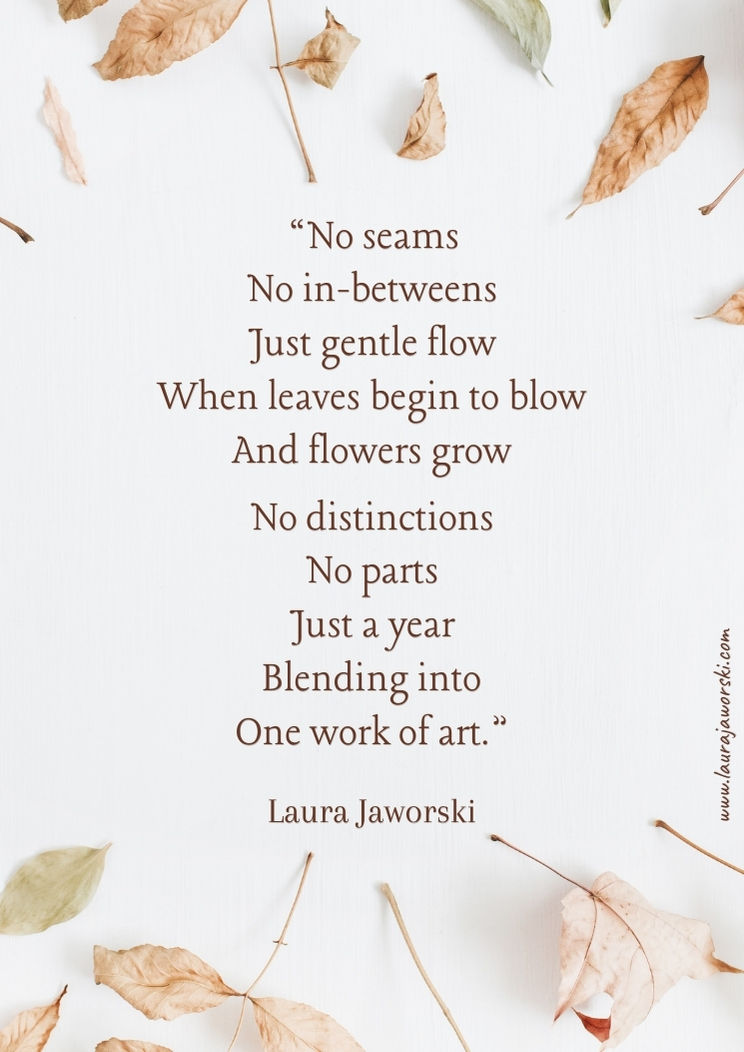
34
“No seams
No in betweens
Just gentle flow
When leaves begin to blow
And flowers grow
No distinctions
No parts
Just a year
Blending into
One work of art.”
Laura Jaworski 🍂

35
“In her finest gold-tipped pen, Nature writes the poem of autumn upon the earth.” ~ Laura Jaworski 🍂
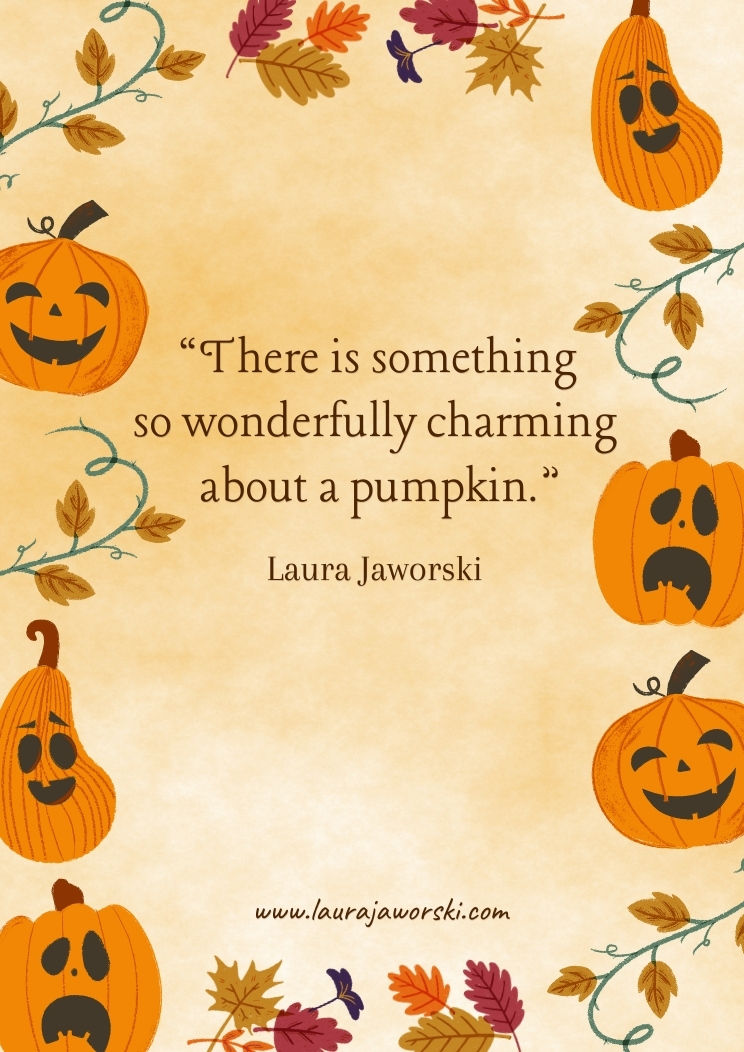
36
“There is something so wonderfully charming about a pumpkin.” ~ Laura Jaworski 🍂
37
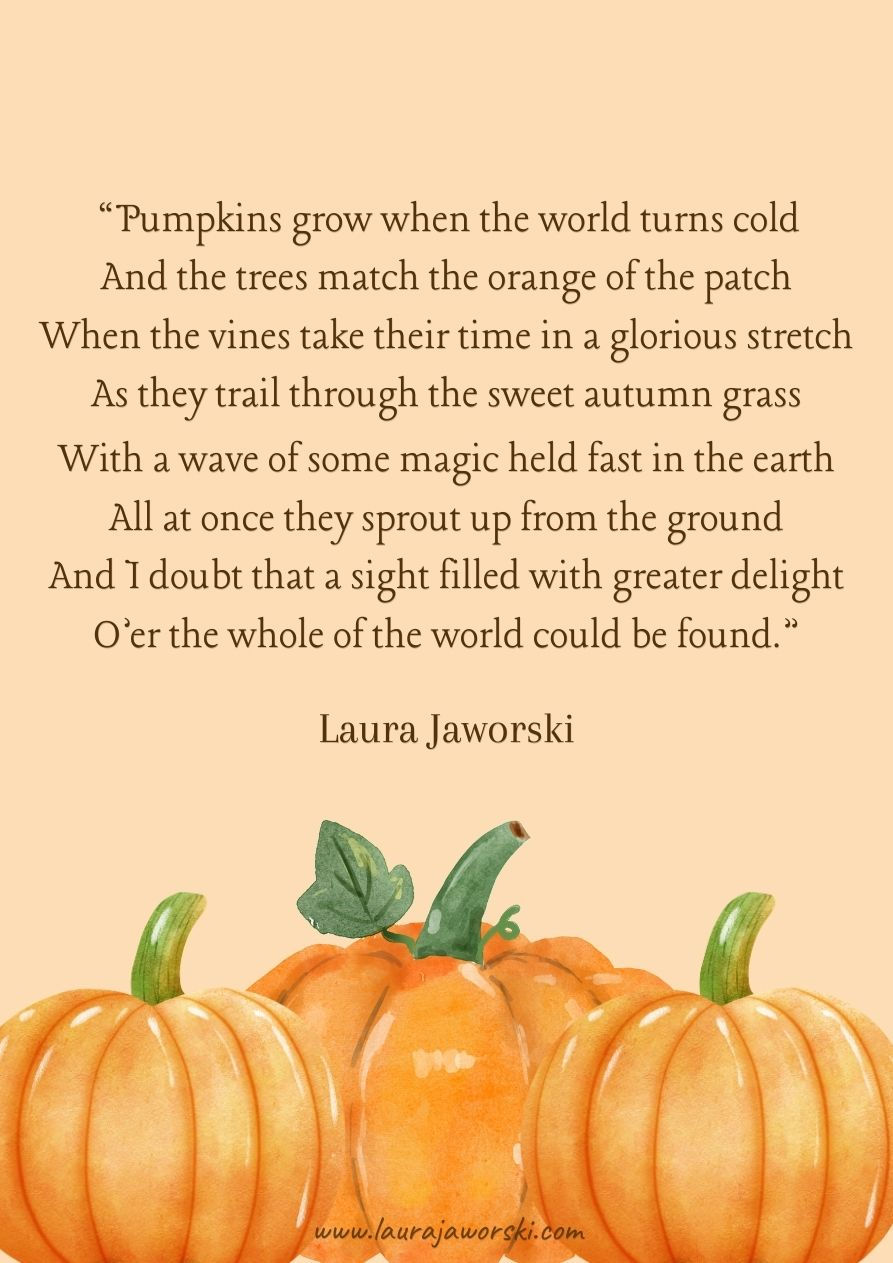
“Pumpkins grow when the world turns cold
And the trees match the orange of the patch
When the vines take their time in a glorious stretch
As they trail through the sweet autumn grass
With a wave of some magic held fast in the earth
All at once they sprout up from the ground
And I doubt that a sight filled with greater delight
O’er the whole of the world could be found.”
Laura Jaworski 🍂
38
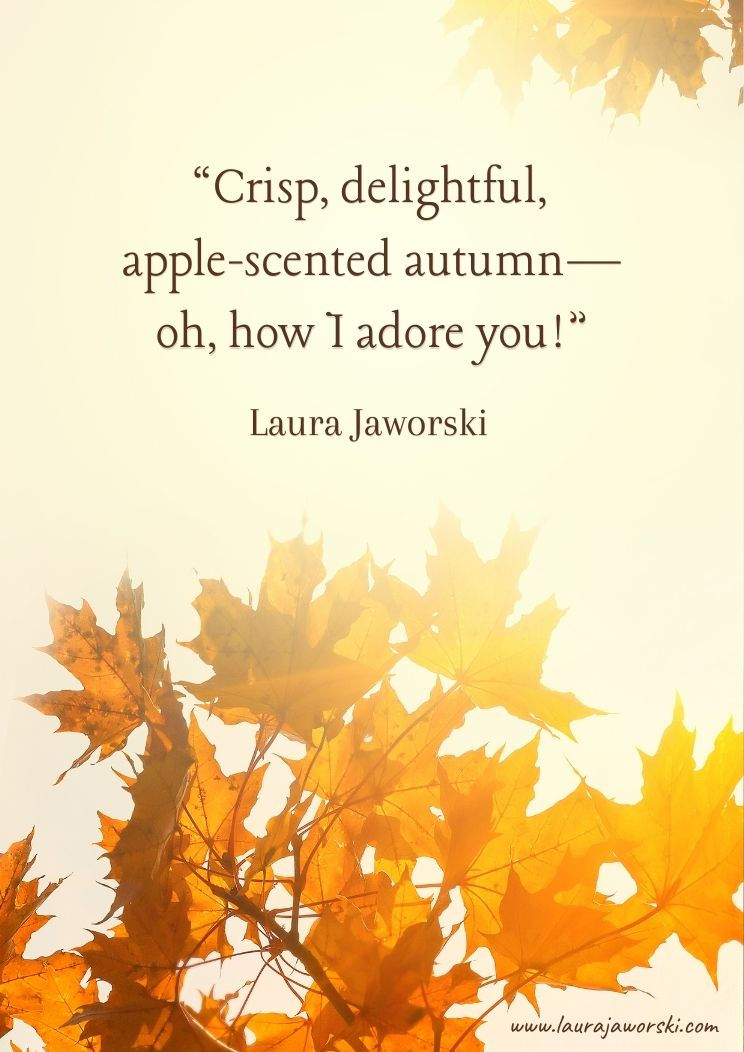
“Crisp, delightful, apple-scented autumn—oh, how I adore you!” ~ Laura Jaworski 🍂
39
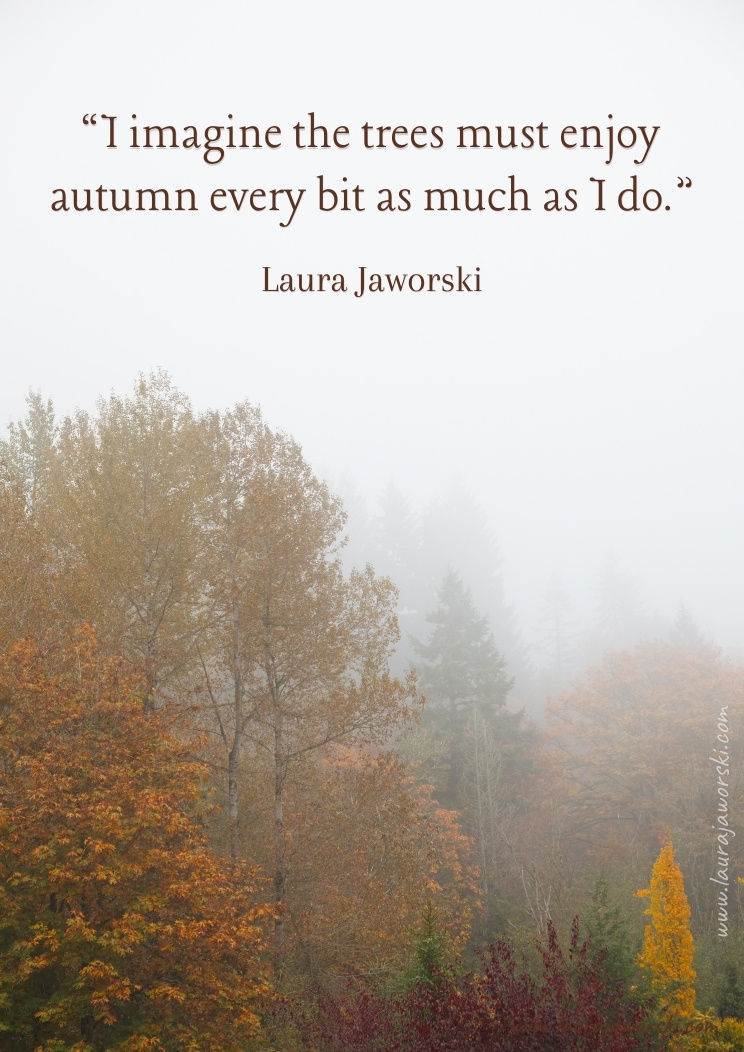
“I imagine the trees must enjoy autumn every bit as much as I do.” ~ Laura Jaworski 🍂

40
“Autumn is a place where words fall short.
It is a magic that must be felt, breathed, experienced, and treasured.”
Laura Jaworski 🍂

41
“Autumn,
when the trees shake loose their garments
and we bundle in our own.”
Laura Jaworski 🍂
42
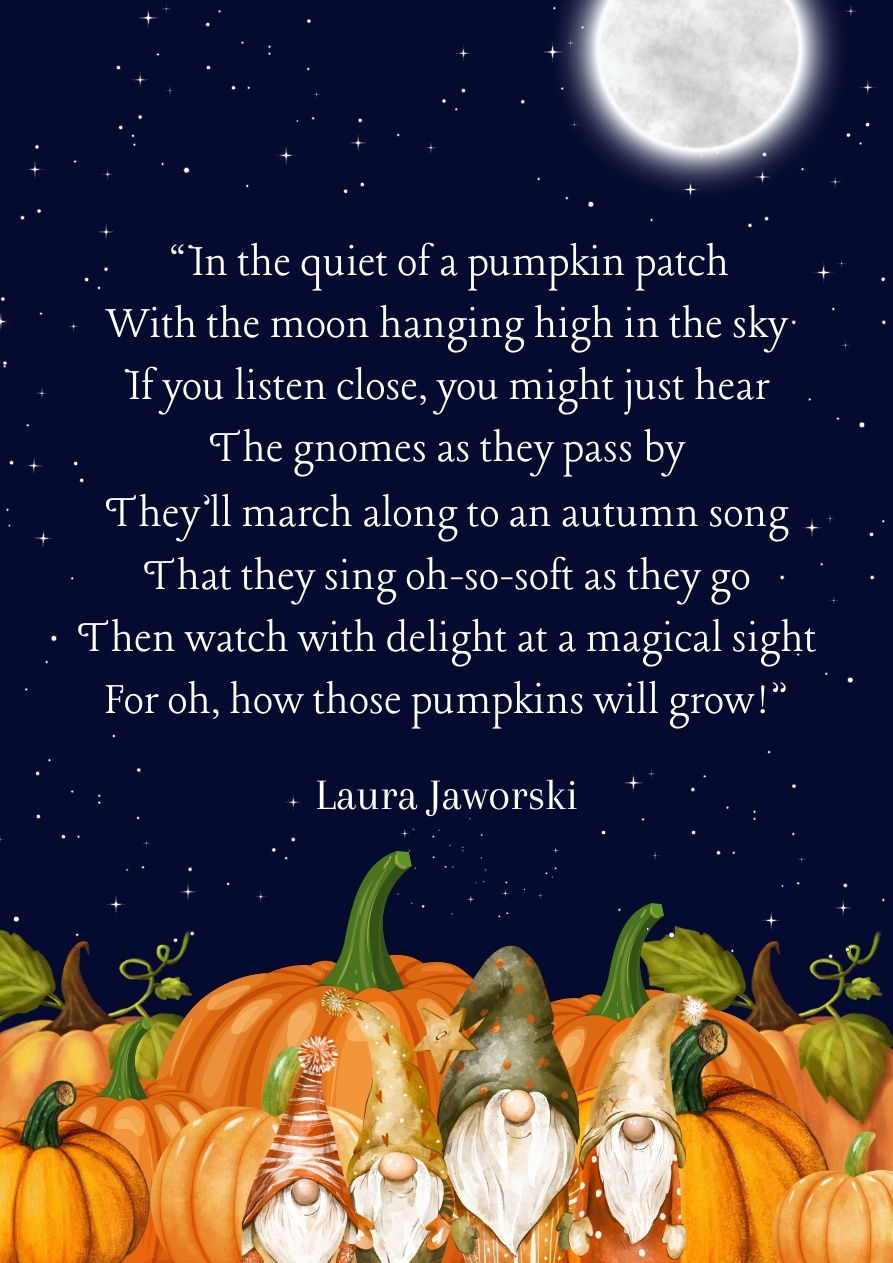
“In the quiet of a pumpkin patch
With the moon hanging high in the sky
If you listen close, you might just hear
The gnomes as they pass by
They’ll march along to an autumn song
That they sing oh-so-soft as they go
Then watch with delight at a magical sight
For oh, how those pumpkins will grow!”
Laura Jaworski 🍂
43
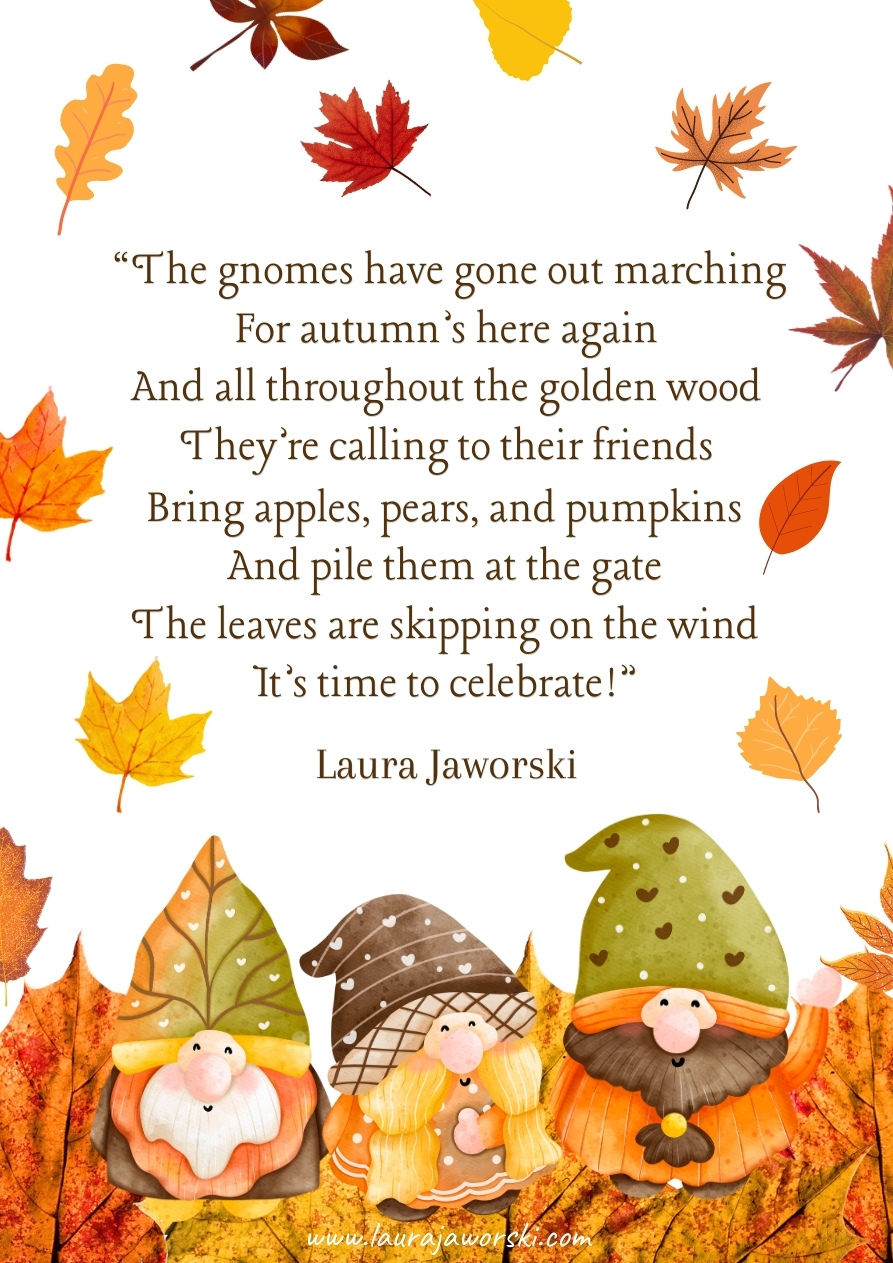
“The gnome’s have gone out marching
For autumn’s here again
And all throughout the golden wood
They’re calling to their friends
Bring apples, pears, and pumpkins
And pile them at the gate
The leaves are skipping on the wind
It’s time to celebrate!”
Laura Jaworski 🍂
44
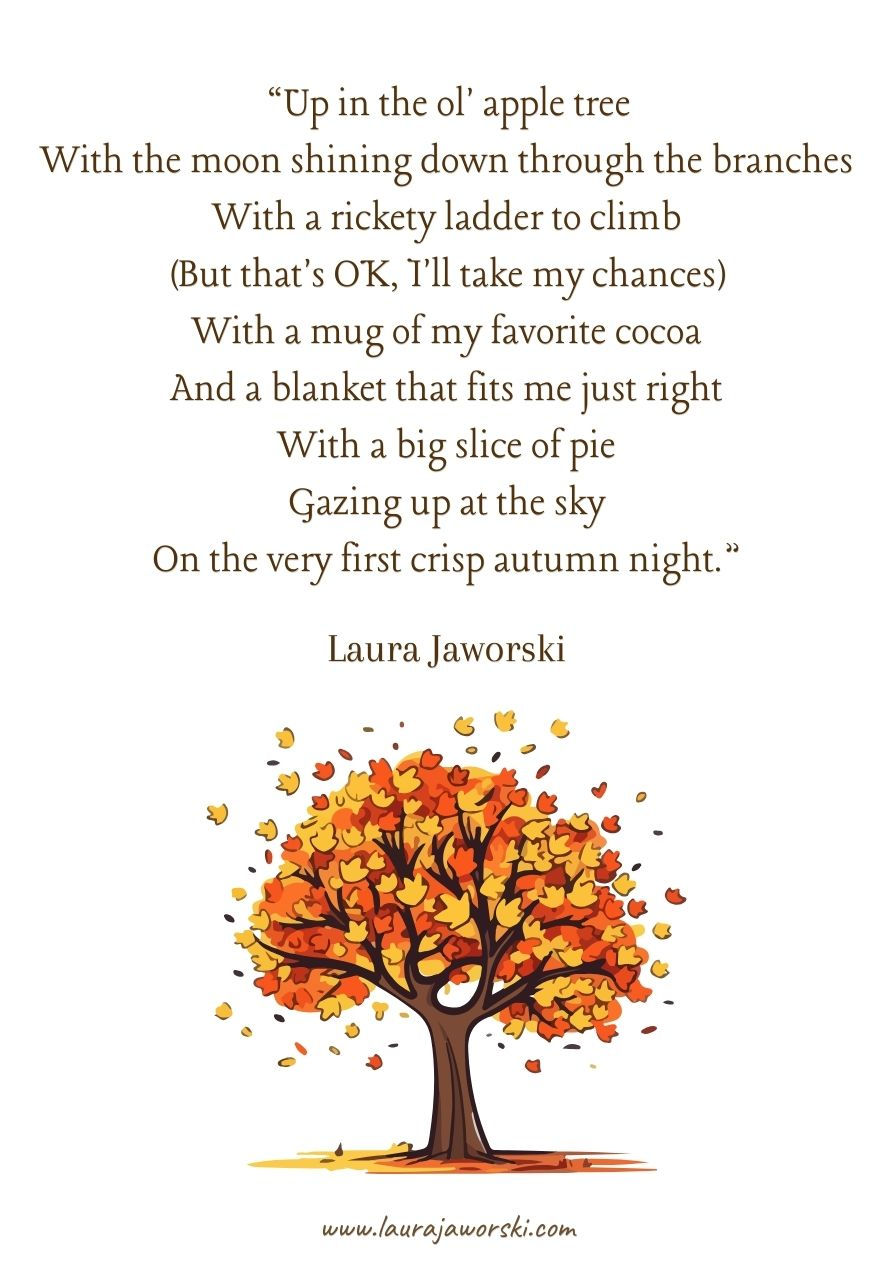
“Up in the ol' apple tree
With the moon shining down through the branches
With a rickety ladder to climb
(But that's OK, I'll take my chances)
With a mug of my favorite cocoa
And a blanket that fits me just right
With a big slice of pie
Gazing up at the sky
On the very first crisp autumn night.”
Laura Jaworski 🍂

45
“I'd like to spend the night in a pumpkin patch
With the moonlight up above
And firefly lanterns hanging in the sky
With a scarecrow on the lookout
And a mound of hay to nestle in
I'd like to spend the night in a pumpkin patch
With a fire to keep us warm
Telling stories, and passing around
Apple cider and spiced cinnamon cookies
Oh—
How I would like to spend the night in a pumpkin patch!”
Laura Jaworski 🍂
46
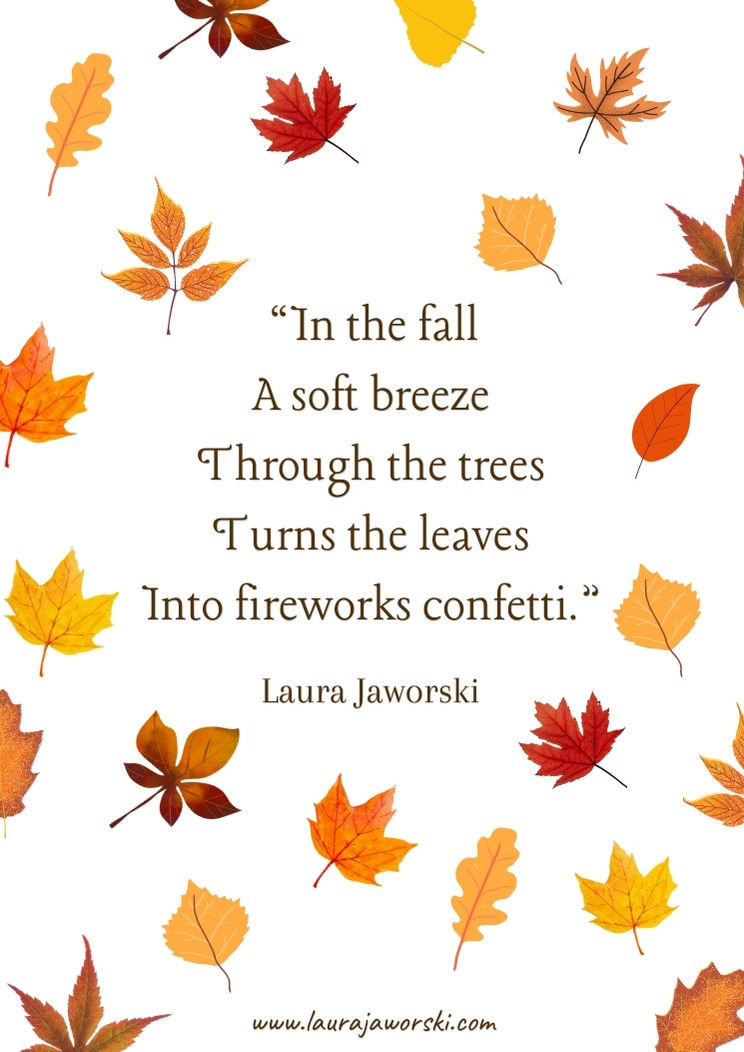
“In the fall
A soft breeze
Through the trees
Turns the leaves
Into fireworks confetti.”
Laura Jaworski 🍂

47
“Autumn is the soul of Earth made tangible.” ~ Laura Jaworski 🍂
48
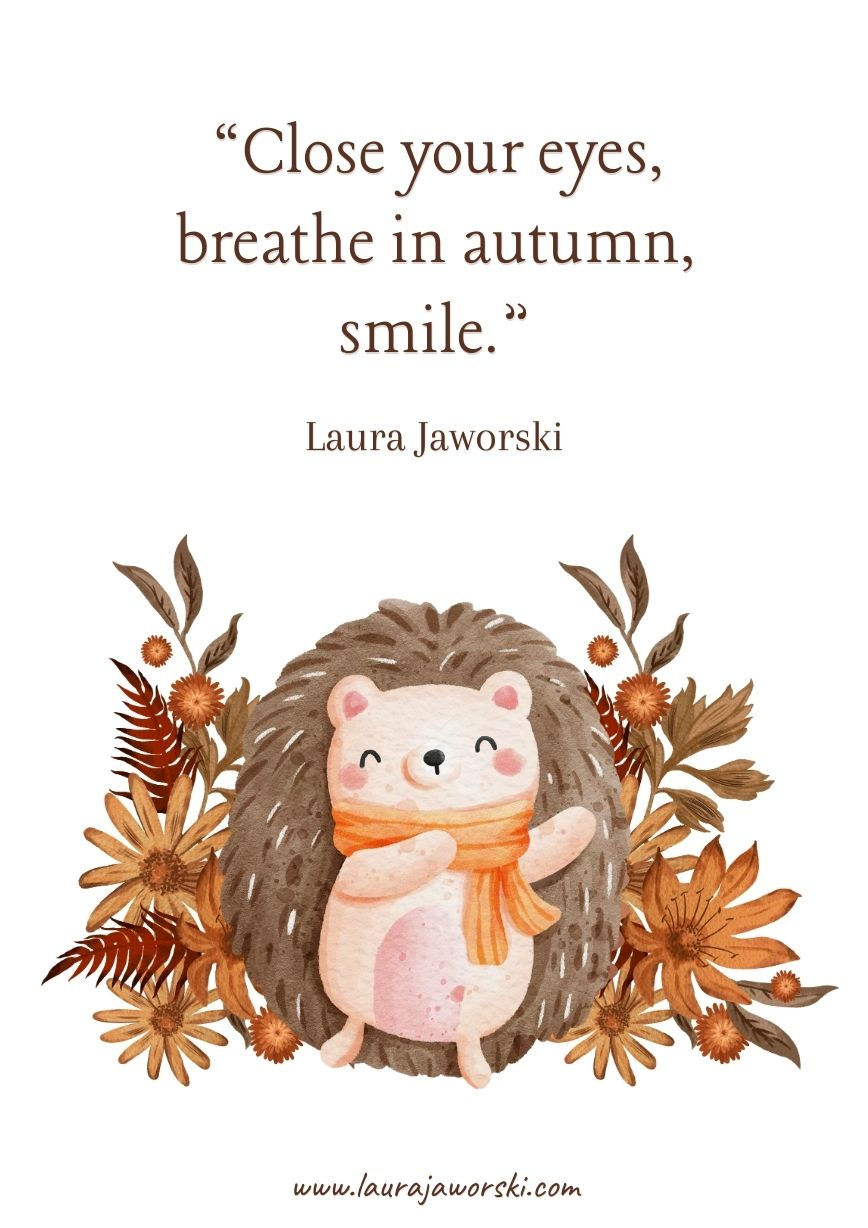
“Close your eyes,
Breathe in autumn,
Smile.”
Laura Jaworski 🍂
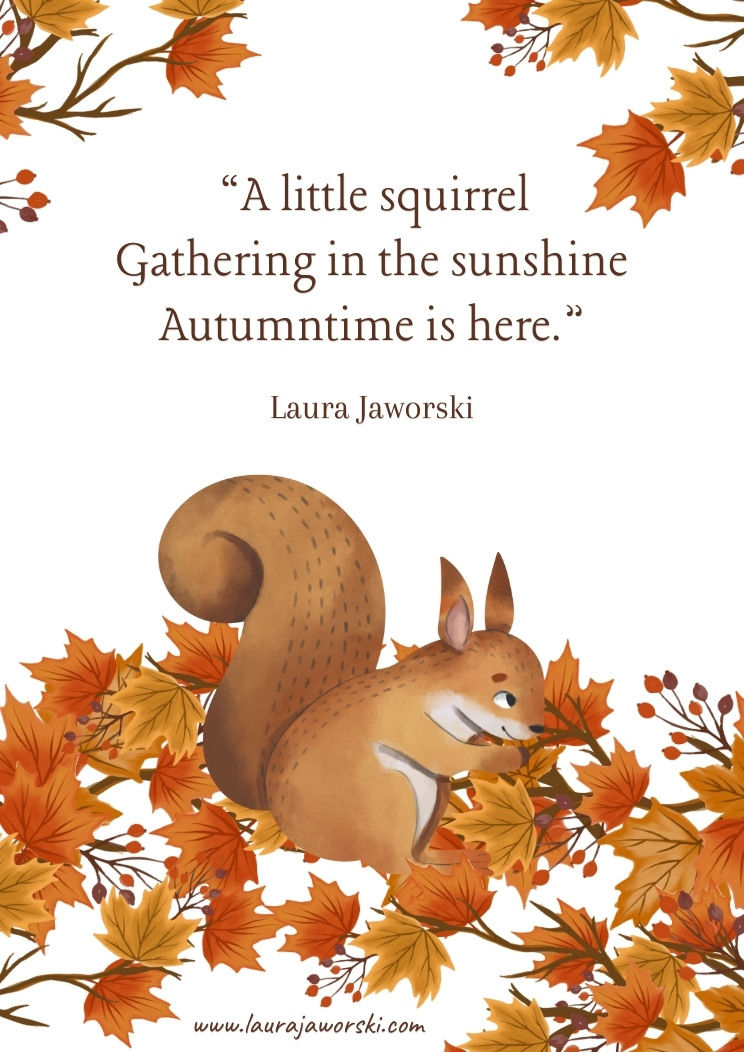
49
“A little squirrel
Gathering in the sunshine
Autumntime is here.”
Laura Jaworski 🍂
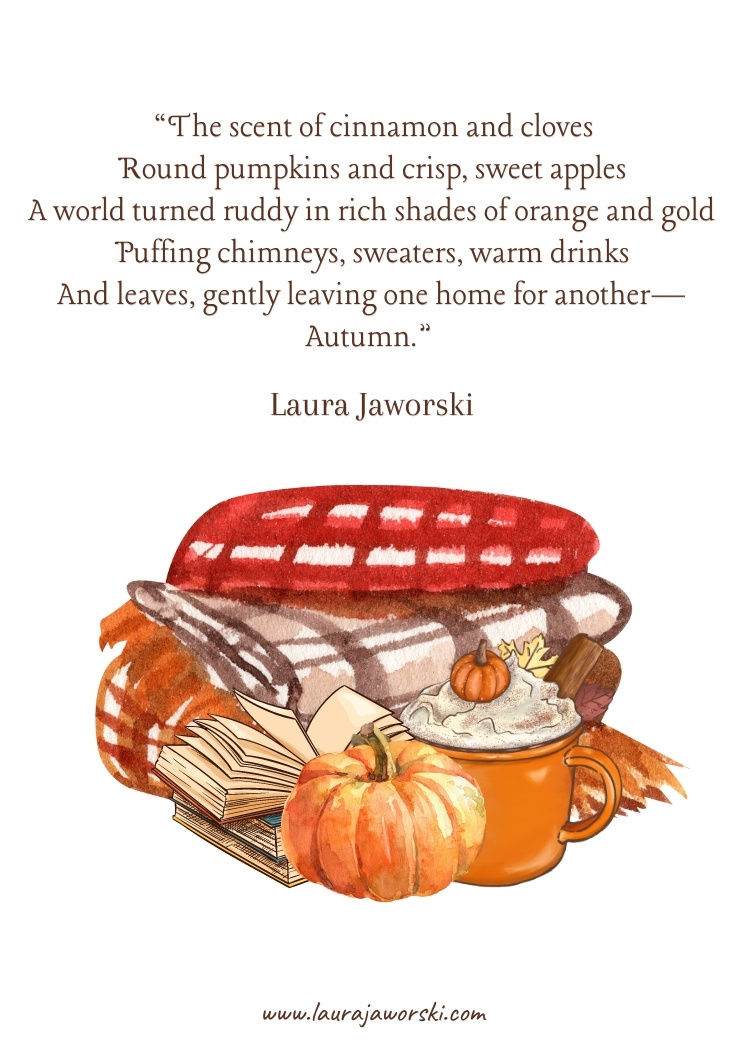
50
“The scent of cinnamon and cloves
Round pumpkins and crisp, sweet apples
A world turned ruddy in rich shades of orange and gold
Puffing chimneys, sweaters, warm drinks
And leaves, gently leaving one home for another—
Autumn.”
Laura Jaworski 🍂

51
“Nature is an alchemist,
gathering the last of summer’s green
and turning it to gold.”
Laura Jaworski 🍂

52
“Orange leaf
Blue sky
Crisp air
Wind high
Day short
Night long
Crackling fire
Autumn’s song!”
Laura Jaworski 🍂

53
“The earth is steeped in yellow gold
The air has caught a chill
And rows of pumpkins big and small
Are perched upon my sill
The leaves are falling prettily
Like crimson-colored rain
And all the world is glistening
It’s autumntime again!”
Laura Jaworski 🍂

54
“There is no season untouched by the beauty of green.”
Laura Jaworski 🍂

55
“Late autumn sunlight
Streaming through the crimson leaves
Turns the world to gold.”
Laura Jaworski 🍂

56
“Gold in hand is pleasant
A pocketful is nice
But autumn's gold holds such a worth
Each leaf is counted twice
So give me gilded woodlands
And gently falling leaves
I'd gladly forfeit opulence
For walks among the trees.”
Laura Jaworski 🍂

57
"Oh that I could bottle fall
And make the magic last
Too rapidly the colors fade
The leaves depart too fast
But then, the winter snows will come
And afterward, the green
And so I'll treasure every step
And each breath in-between."
Laura Jaworski 🍂

58
“Autumn reaches past its bloom
A cold November afternoon
The trees stand bare against the sky
A solitary leaf floats by
The earth has changed, and changed again
From summer's green to autumn's red
And soon the wood will sink beneath
A swath of white, a winter sheathe
How beautifully each day is made
Each sunbeam cast and setting laid
By what great hand is such work done
My heart can think of only one.”
Laura Jaworski 🍂
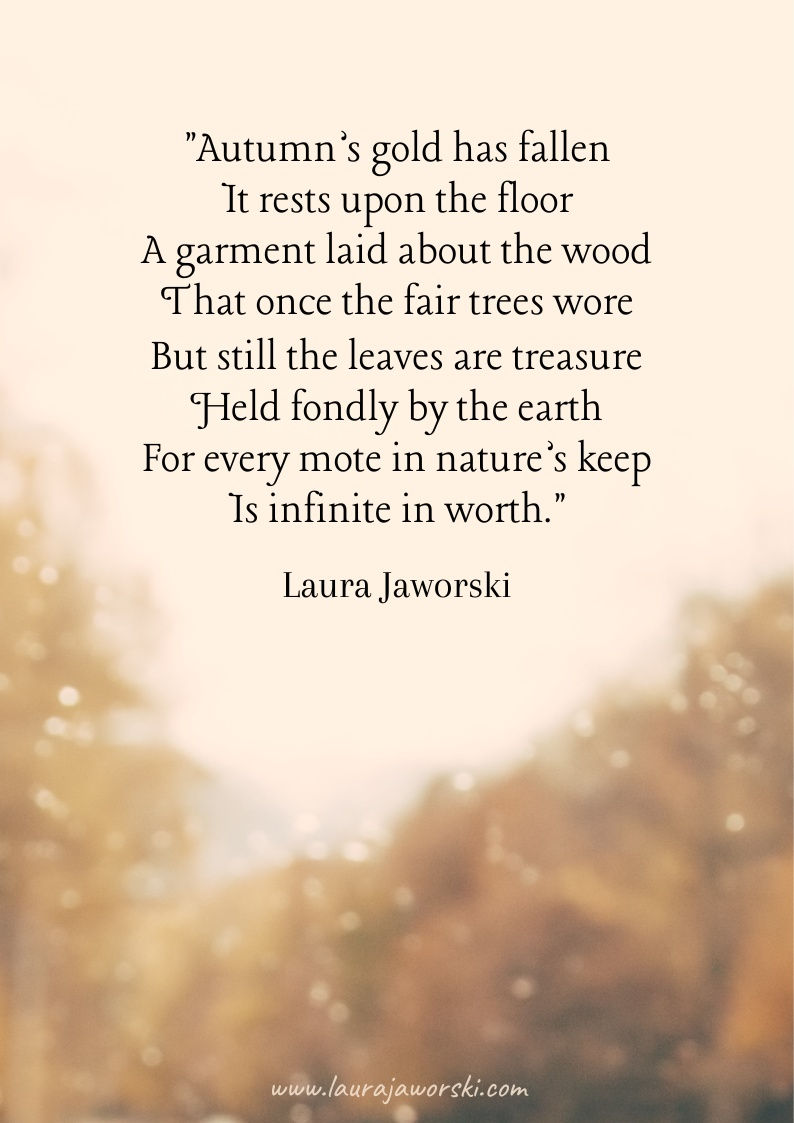
59
"Autumn’s gold has fallen
It rests upon the floor
A garment laid about the wood
That once the fair trees wore
But still the leaves are treasure
Held fondly by the earth
For every mote in nature’s keep
Is infinite in worth."
Laura Jaworski 🍂

60
“What is the magic of an autumn day?
I do not know, I cannot say
But does a woodland set aglow
Not stir the longings of the soul?
What is the magic of a winter snow?
I cannot say, I do not know
But does a landscape dressed in frill
Not speak of something greater still?”
Laura Jaworski 🍂
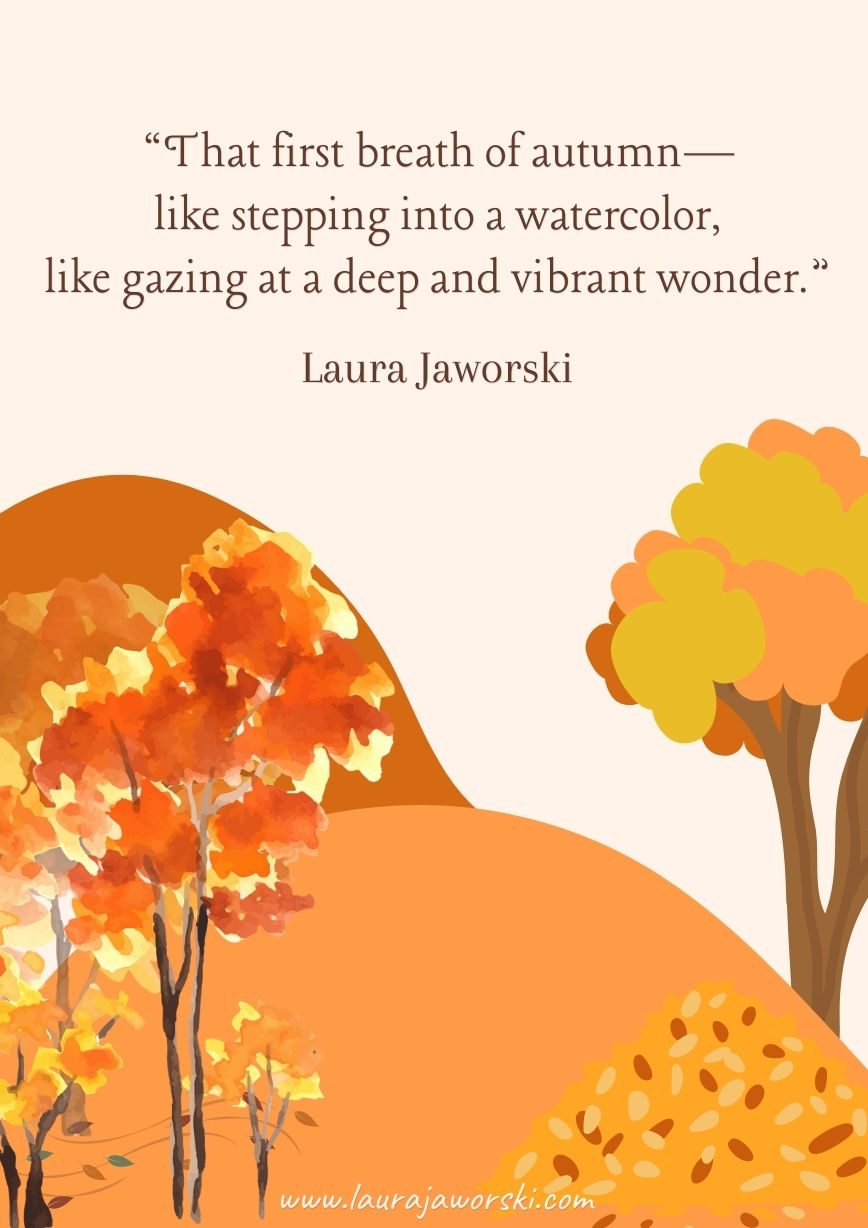
61
“That first breath of autumn—like stepping into a watercolor,
like gazing at a deep and vibrant wonder.”
Laura Jaworski 🍂

62
“Dear trees, what magic you must hold
To change the leaves from green to gold
And weave a flaxen cloth so fine
To dress the wood in autumntime.”
Laura Jaworski 🍂

63
“Autumn is a masterpiece for the senses.”
Laura Jaworski 🍂

64
“In the golden glow of autumn, one cannot help but believe in magic.”
Laura Jaworski 🍂

65
“Blush on the leaves
Green on the pine
Crisp in the air—
It’s autumntime.”
Laura Jaworski 🍂

66
“Leaves turn at summer’s waning
Snow falls at autumn’s end
It seems each season lends itself
To what comes round the bend.”
Laura Jaworski 🍂
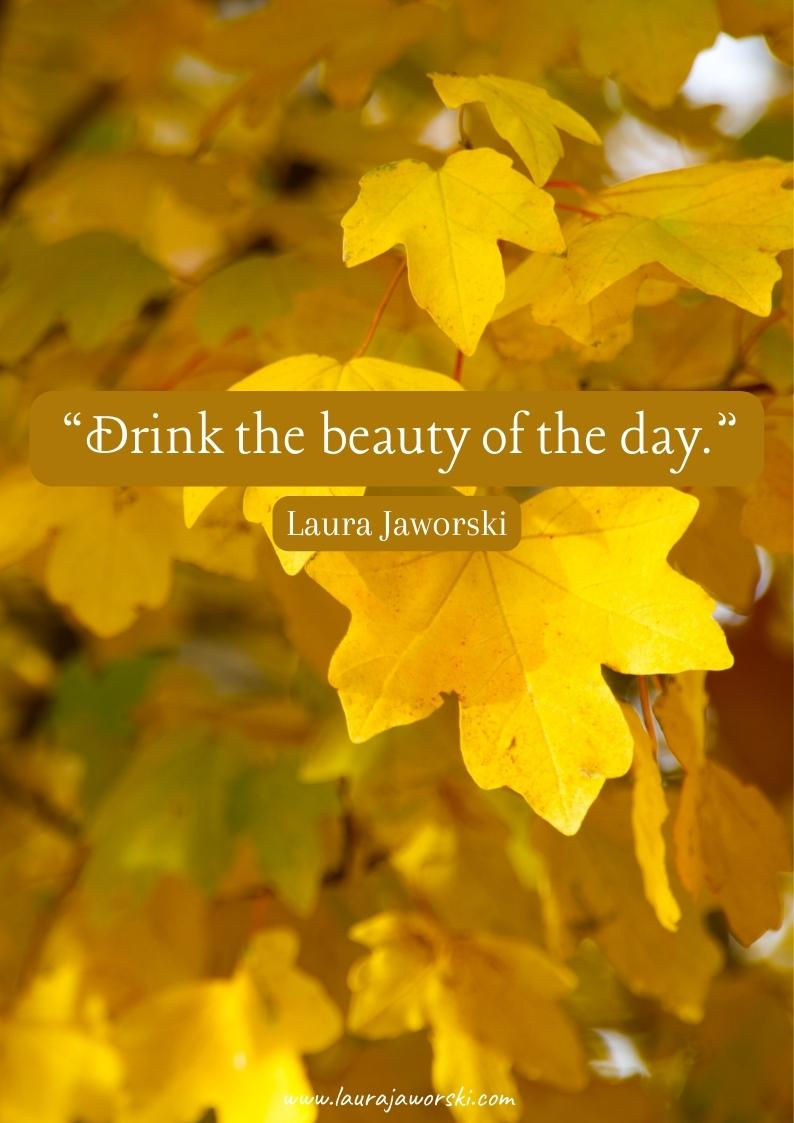
67
“Drink the beauty of the day.”
Laura Jaworski 🍂

68
Autumn Firsts
A leaf that isn’t like the others
A gust of wind that isn’t warm
A scent of baking rich in spice
A gently waving field of corn
A patch of pumpkins round and plump
A sweater lifted from its drawer
These are the firsts of every fall
And every year I love them more.
Laura Jaworski 🍂

69
“What a beautiful gift the trees give,
offering their leaves to the earth with a promise of beauty,
nourishment, and renewal.”
Laura Jaworski 🍂

70
“Little leaves of red and gold
Skipping on the breeze
How cheerfully you pluck yourselves
To dance among the trees.”
Laura Jaworski 🍂

71
“Each season has its beauty
In spring the flowers grow
In summertime the green delights
In winter comes the snow
But one above the others
Is rich in golden grace
As if the earth had fashioned fall
From threads of gleaming lace.”
Laura Jaworski 🍂

72
Autumn Calls
It weaves its way to summer’s end
And gathers with each leaf that falls
A whisper carried on the wind
A quiet longing—
Autumn calls.
Laura Jaworski 🍂
73
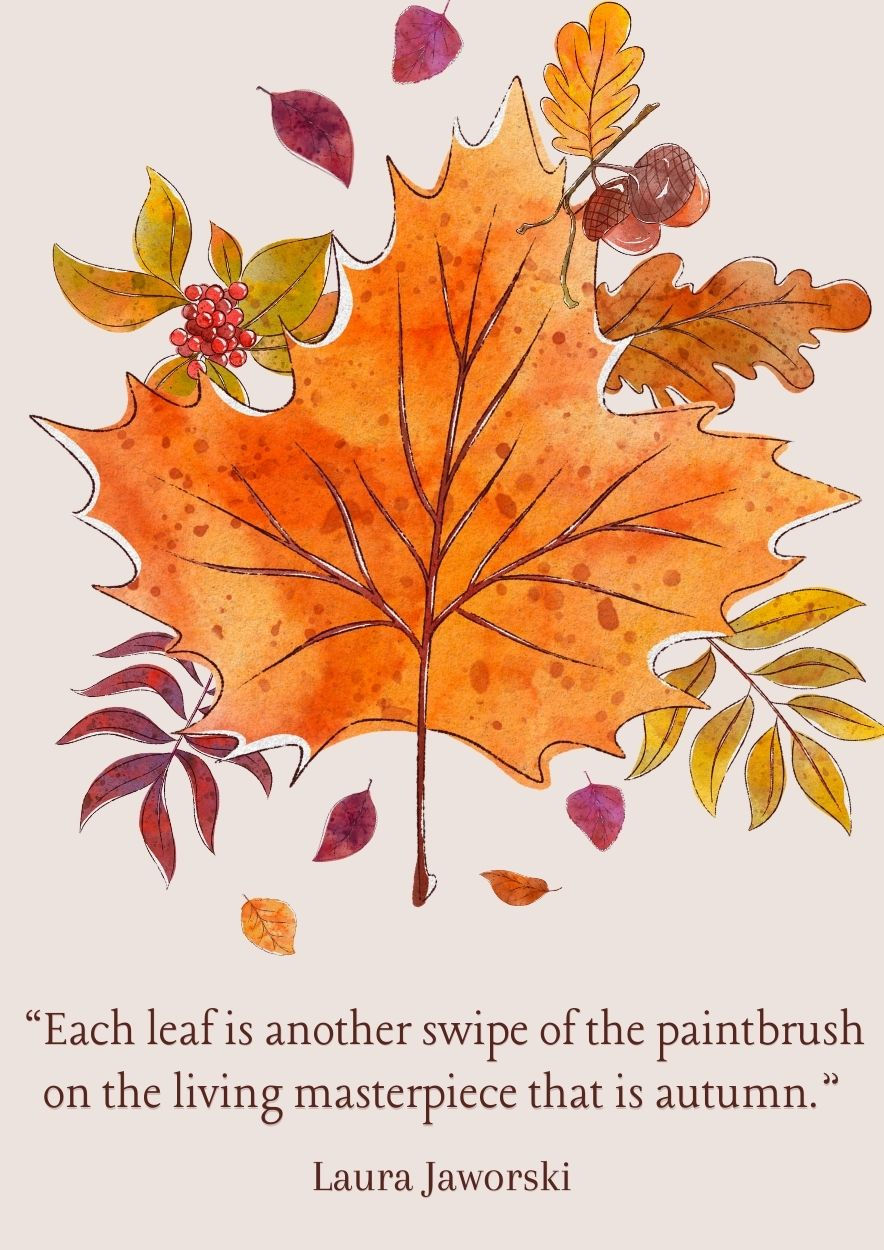
“Each leaf is another swipe of the paintbrush
on the living masterpiece that is autumn.”
Laura Jaworski 🍂
74
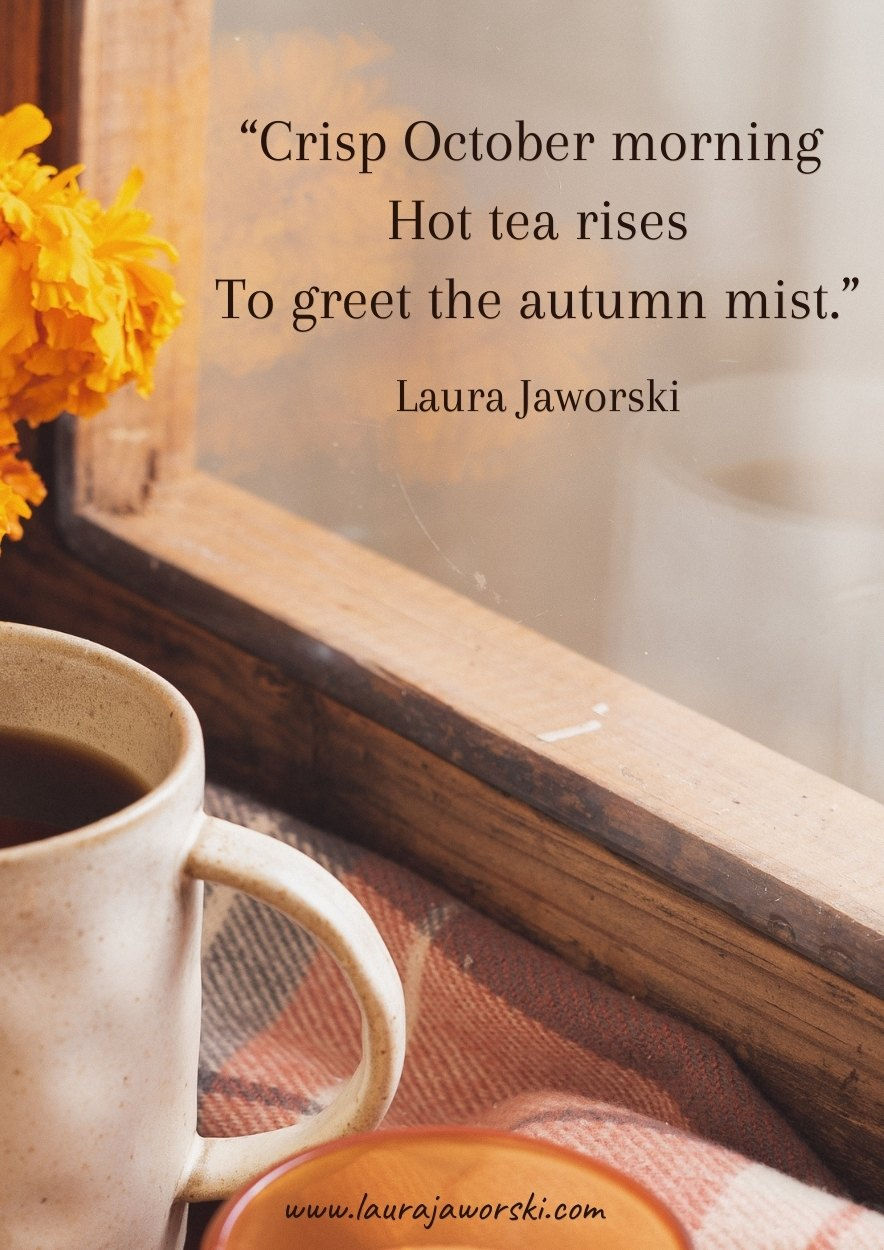
“Crisp October morning
Hot tea rises
To greet the autumn mist.”
Laura Jaworski 🍂

75
“Somewhere down a winding road
When summer starts to wane
The wind begins its gentle hymn
Soon fall will come again.”
Laura Jaworski 🍂

76
“Autumn inspires endlessly.”
Laura Jaworski 🍂

77
“Here is the golden season,
when Earth weaves her magic into light.”
Laura Jaworski 🍂
78
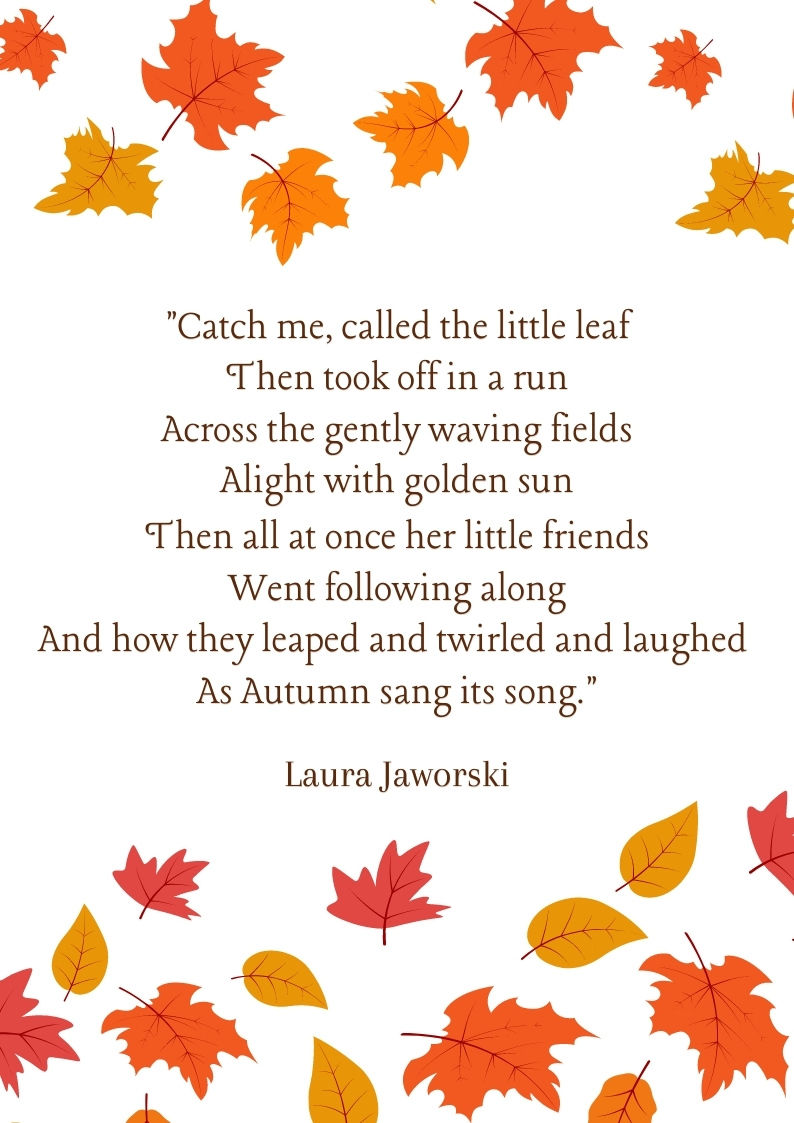
“Catch me, called the little leaf
Then took off in a run
Across the gently waving fields
Alight with golden sun
Then all at once her little friends
Went following along
And how they leaped and twirled and laughed
As Autumn sang its song.”
Laura Jaworski 🍂

79
There Is a Path to Autumn
There is a path to autumn
Though few have ever been
Away down in the wildwood
In wafts of summer green
It’s there you’ll find the faefolk
The pixies and the gnomes
Some set out on adventure
Some ambling to their homes
And on the trail they’re trekking
When summer’s stretched a ways
You’ll feel a sweet wind rising
To soothe the sweltry days
The trees extend their great limbs
A twinkling light unfurls
Then sweeps across the woodland
Bringing autumn to the world.
Laura Jaworski 🍂
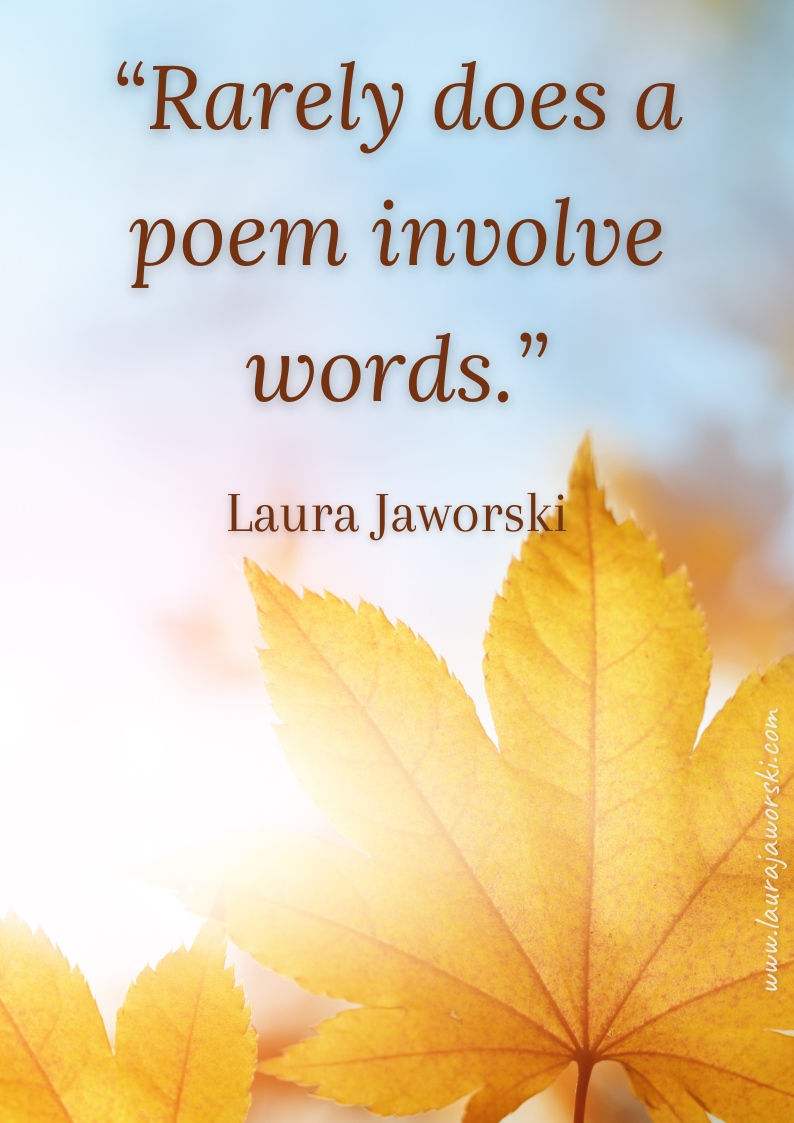
80 "Rarely does a poem involve words."
Laura Jaworski 🍂
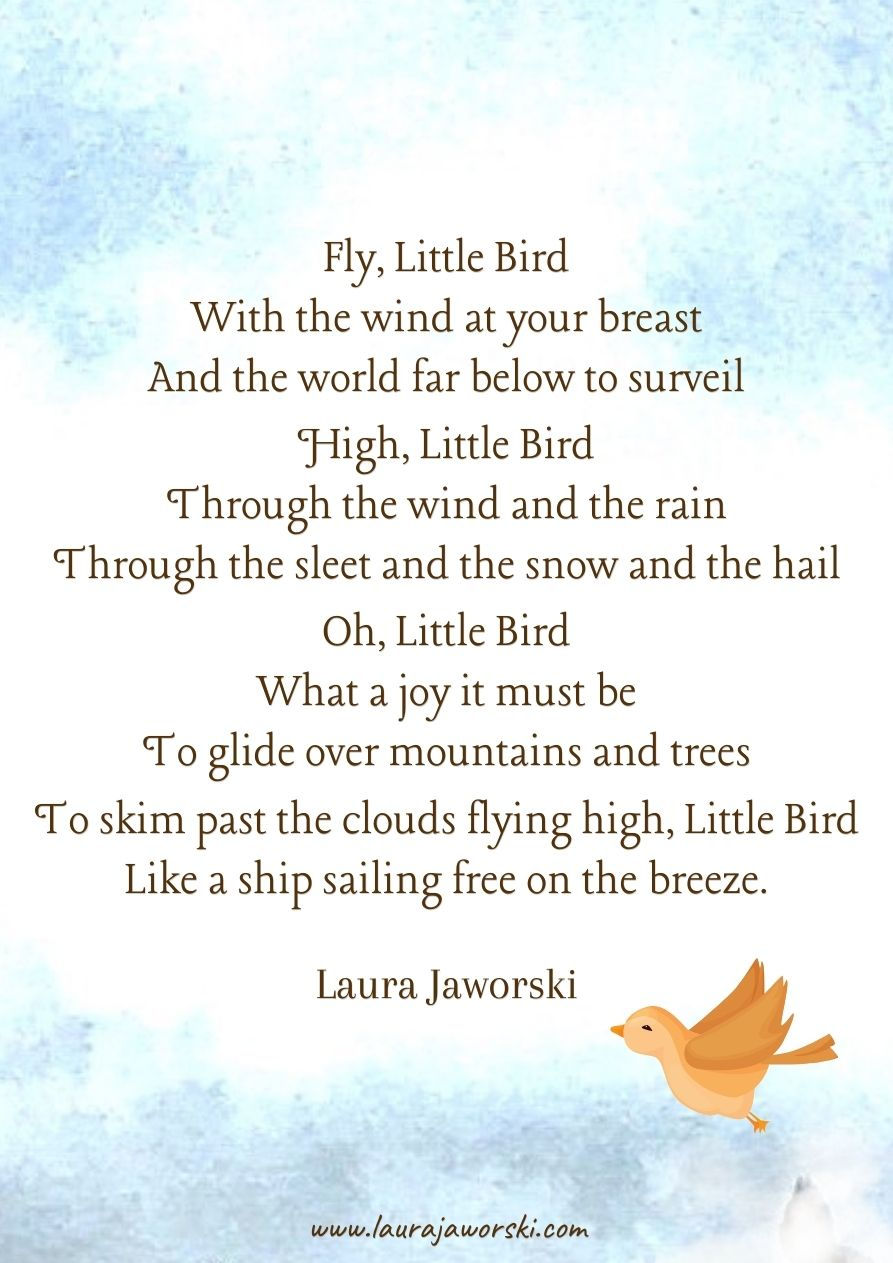
81
“Fly, Little Bird
With the wind at your breast
And the world far below to surveil
High, Little Bird
Through the wind and the rain
Through the sleet and the snow and the hail
Oh, Little Bird
What a joy it must be
To glide over mountains and trees
To skim past the clouds flying high, Little Bird
Like a ship sailing free on the breeze.”
Laura Jaworski 🍂

82 "Autumn's gold is free." ~ Laura Jaworski 🍂

83
“The world changes so in autumn
Rapidly, and with such delight
One hardly knows the palette
From the morning to the night.” Laura Jaworski 🍂

83
“Autumn is a poem in which you can wander." Laura Jaworski 🍂

84
“Warm is autumn’s beginning
Crisp is the in between
And snowy white are the final days
As December lays the scene.”
Laura Jaworski 🍂
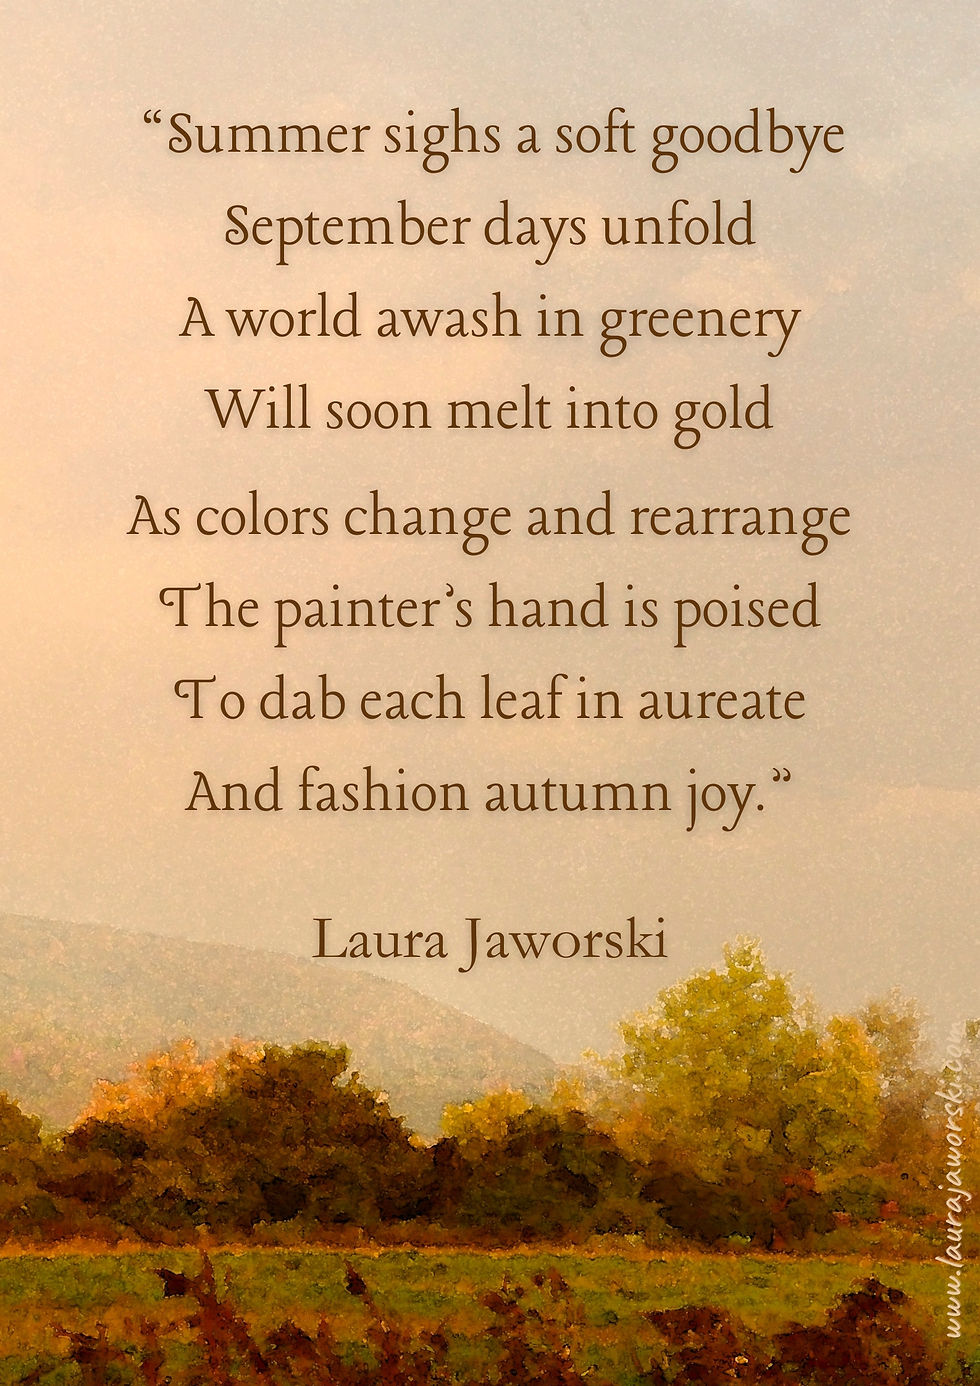
85
“Summer sighs a soft goodbye
September days unfold
A world awash in greenery
Will soon melt into gold
As colors change and rearrange
The painter’s hand is poised
To dab each leaf in aureate
And fashion autumn joy.”
Laura Jaworski 🍂

86
“September with its easy smile
Said Summer, won’t you stay awhile?
The misty morns will soon along
And earth will sing her Autumn song
And how enchanting it will be
But just for now
Come sit with me.”
Laura Jaworski 🍂

87
“The wind said,
Dear Summer, where do you go?
When the leaves turn red
And the world turns cold
And Summer replied
With a rustling yawn
I’m here, dear friend
Simply resting, not gone.”
Laura Jaworski 🍂

88
“For lovers of poetry
And seekers of good
There are flowers in spring
There are trees of the wood
There are stars in the ether
And rivers that flow
In the sweetness of nature
The heart finds its home.”
Laura Jaworski 🍂

89
“Spring is delightful
But cider and pumpkins and cinnamon spice
Leaves like a painting that
dance on the breeze
Are what my heart yearns for
Give me fall, please!”
Laura Jaworski 🍂

90
“Rainy day
September drear
But tucked within the gloom—
A smattering of golden leaves
Are gently peeking through.”
Laura Jaworski 🍂

91
October
31 days of golden light
Of falling leaves and blustery nights
Of pumpkin pie and autumn fun
Let’s savor each and every one.
Laura Jaworski 🍂

92
“How sweet the early autumn days
Their changes barely seen
When Nature in her quiet way
Begins to blend her green
With shades of tawny gossamer
And bolder rosy tones
Till colors mixed and stirred unveil
A palette of her own.”
Laura Jaworski 🍂

93
"For many, a tree is home."
Laura Jaworski 🍂
94
“Warm are autumn’s beginnings
Crisp are the in betweens
And snowy white are the final days
As December lays its scene.”
Laura Jaworski 🍂

95
“You feel it first
It’s in the air
The wood is still
The sky aglow
The air is sharp
The world is soft
And suddenly,
Snow!”
Laura Jaworski 🍂

96
"High in the clouds
The fairies are weaving
Delicate snowflakes of glittering lace
They dust them in starshine
Then send them to earth
To blanket the world in grace."
Laura Jaworski 🍂

97
“Little bird in the fallen snow
The warmth has gone
The leaves have flown
But the nook of a tree in a welcome wood
Will always make a cozy home.”
Laura Jaworski 🍂

98
"Frost upon a windowpane
And gently falling snow,
Warmth beside a crackling fire
While biting north winds blow
Books and blankets, steaming tea
The soft glow of an ember
Candlelight and cozy nights ~
The magic of December."
Laura Jaworski 🍂

99
“If you are in search of beautiful things,
Of friendship
Adventure
Of thought pure and good
Of quiet and laughter
Of wisdom and learning
My dear,
Head into the wood.”
Laura Jaworski 🍂

100
“Beautiful tree
Beautiful tree
Writer of silent symphony
Artist and poet
Giver of good
Shelter and guardian
Heart of the wood.”
Laura Jaworski 🍂

101
“Oh to be a bird in autumn
Tucked within a rosy tree
While crisp October winds sweep by
To twine about the falling leavesTo catch a gust and take to soaring
Out above a glistening fall
And not to miss a single thing
But see and hear and feel it all.”
Laura Jaworski 🍂

102
“The sun cast its light
And each leaf
Became a lantern.”
Laura Jaworski 🍂

103
"Autumn leaves are tiny lanterns lit by wonder."
Laura Jaworski 🍂

104
“Against a canvas of greenest hue
A little leaf knew what to do
She’d waited and waited her whole life through
To fly
And in a gust of freedom
She lifted herself to the sky.”
Laura Jaworski 🍂

105
“Keep an empty pocket
When you’re on an autumn stroll
For the wood is filled with treasure
And the trees are trimmed in gold
And you may find that you’d like to keep
A gilded leaf or two—
So keep an empty pocket
And bring autumn home with you.”
Laura Jaworski 🍂

106
"In the sweetness of nature, the heart finds its home."
Laura Jaworski 🍂

107
“There is a first leaf to turn
There is a last to fall
And in the space between the two
The grandest show of all.”
Laura Jaworski 🍂

108
“On a crisp autumn day
We look neither backward nor forward
But around and within
In wonder.”
Laura Jaworski 🍂

109
“I stood beneath an autumn tree
And offered up an open palm
Each solemn branch was nearly bare
The golden glamour come and gone
But as the wind took gentle hold
And set the last fall leaf adrift
It sailed into my waiting hand
Dear autumn, thank you for the gift.”
Laura Jaworski 🍂

110
“Autumn in your stately glory
Come, tell us another story
Tell us of your vibrant shades
And how your woodland gold is made
Come tell us how it feels to fly
As leaves depart to grace the sky
And lend your tale so we might keep
Your beauty while you soundly sleep.”
Laura Jaworski 🍂

111
“The leaves have drifted to the earth
Their golden dance is done
And all about the wood are signs
The quiet time has come
The animals will settle soon
The air is kissed with cold
And now we wait, for soon will come
The year’s first fallen snow.”
Laura Jaworski 🍂

112
“Autumn has warmth and color and rain
Autumn has light and shadow and change
Autumn has frost and snow-kissed weather
Autumn is all of this blended together.”
Laura Jaworski 🍂

113
Cozy
Cozy is a stack of books
A crackling fire, a comfy nook
A cup of tea, a fresh-baked bread
A puppy snoozing in your bed
Cozy is a strand of lights
That twinkle through a chilly night
A gentle smile, a soothing poem
Cozy is a happy home.
Laura Jaworski 🍂

114
“Sweet winter wandering
Dusted in snow
Bundled up tightly
Howling winds blow
Frost in the wildwood
Warmth through the door
From cold into cozy
Is what winter’s for.”
Laura Jaworski 🍂
🍂 Happy autumn! 🍂

100+ Fall Quotes to Celebrate the Beauty of the Season 🍂


